
BEST Tools For Your Fly Tying Kit | Watch BEFORE You Buy!


Tools Quick Picks
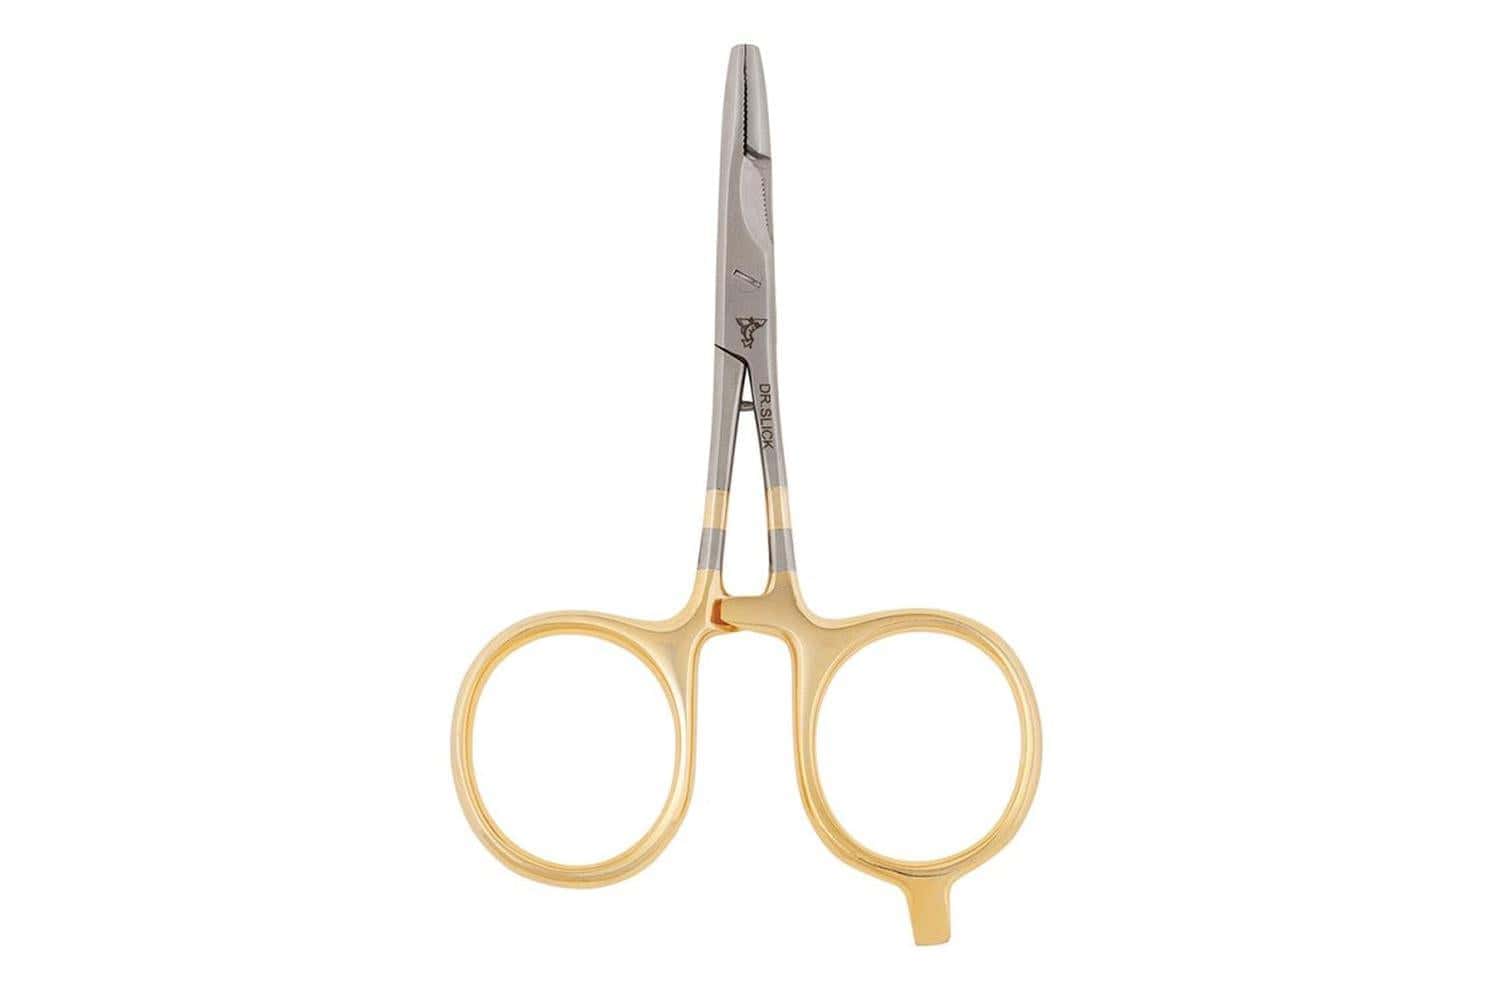
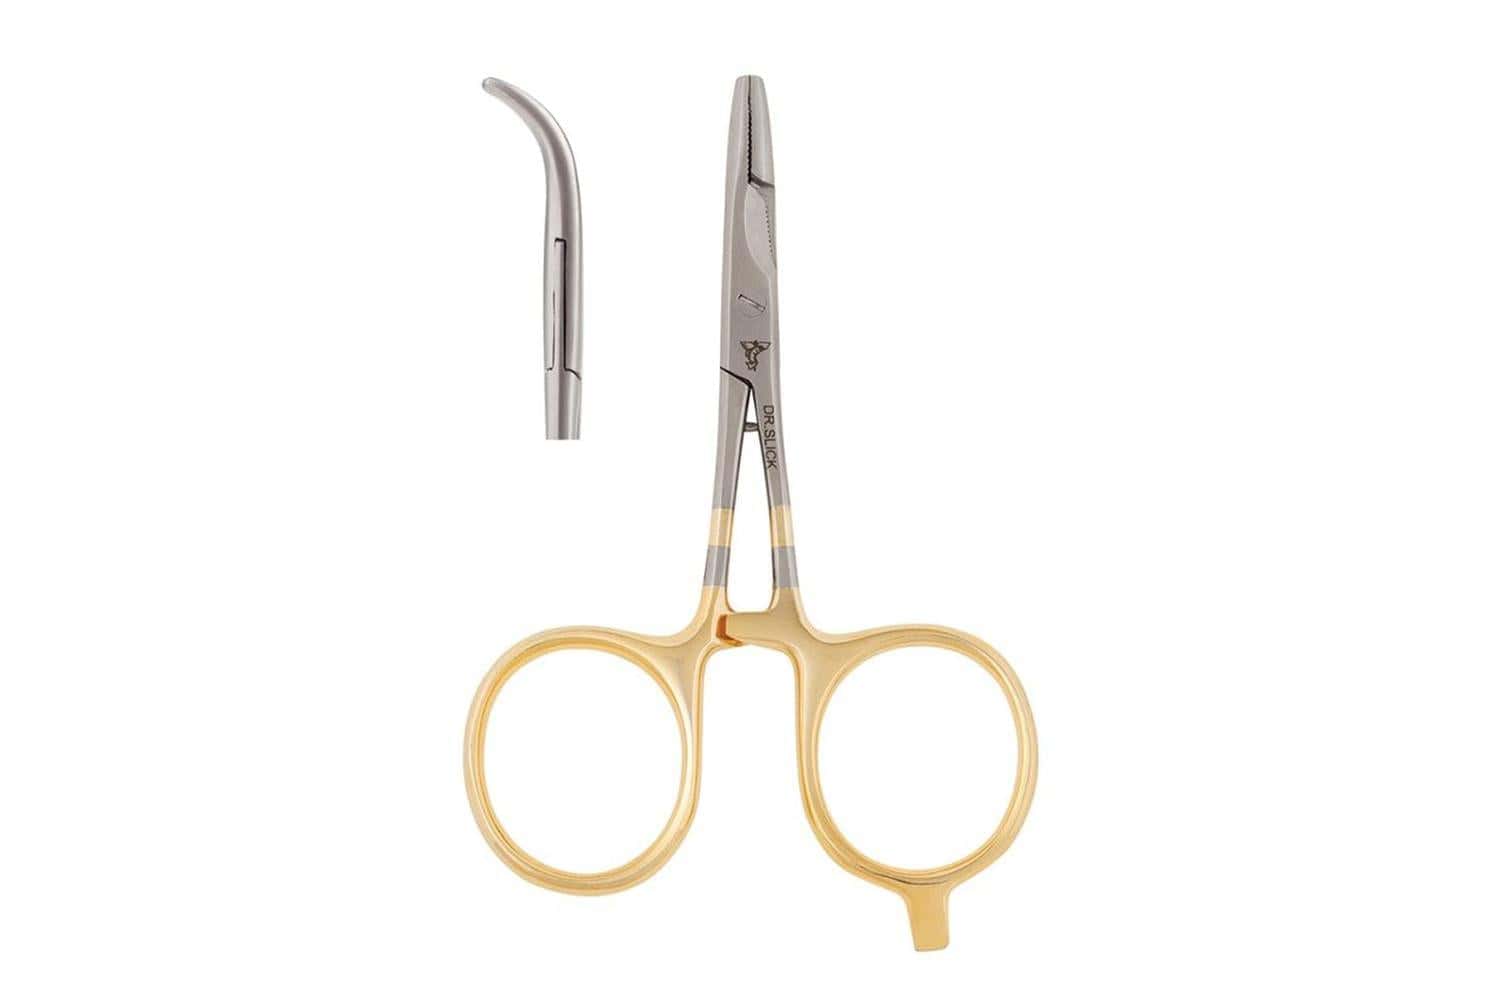
- Best All-Around: Dr. Slick All Purpose Scissor - A dependable daily-driver scissor for tyers who work across dries, nymphs, and streamers. Serrated blades help control slick synthetics and fine fibers without pushing them away.
- Best for Beginners: Dr. Slick Whip Finisher - A straightforward tool for learning clean, repeatable finishing knots without guesswork. Great when you want consistent fly heads that don’t unravel after a few fish.
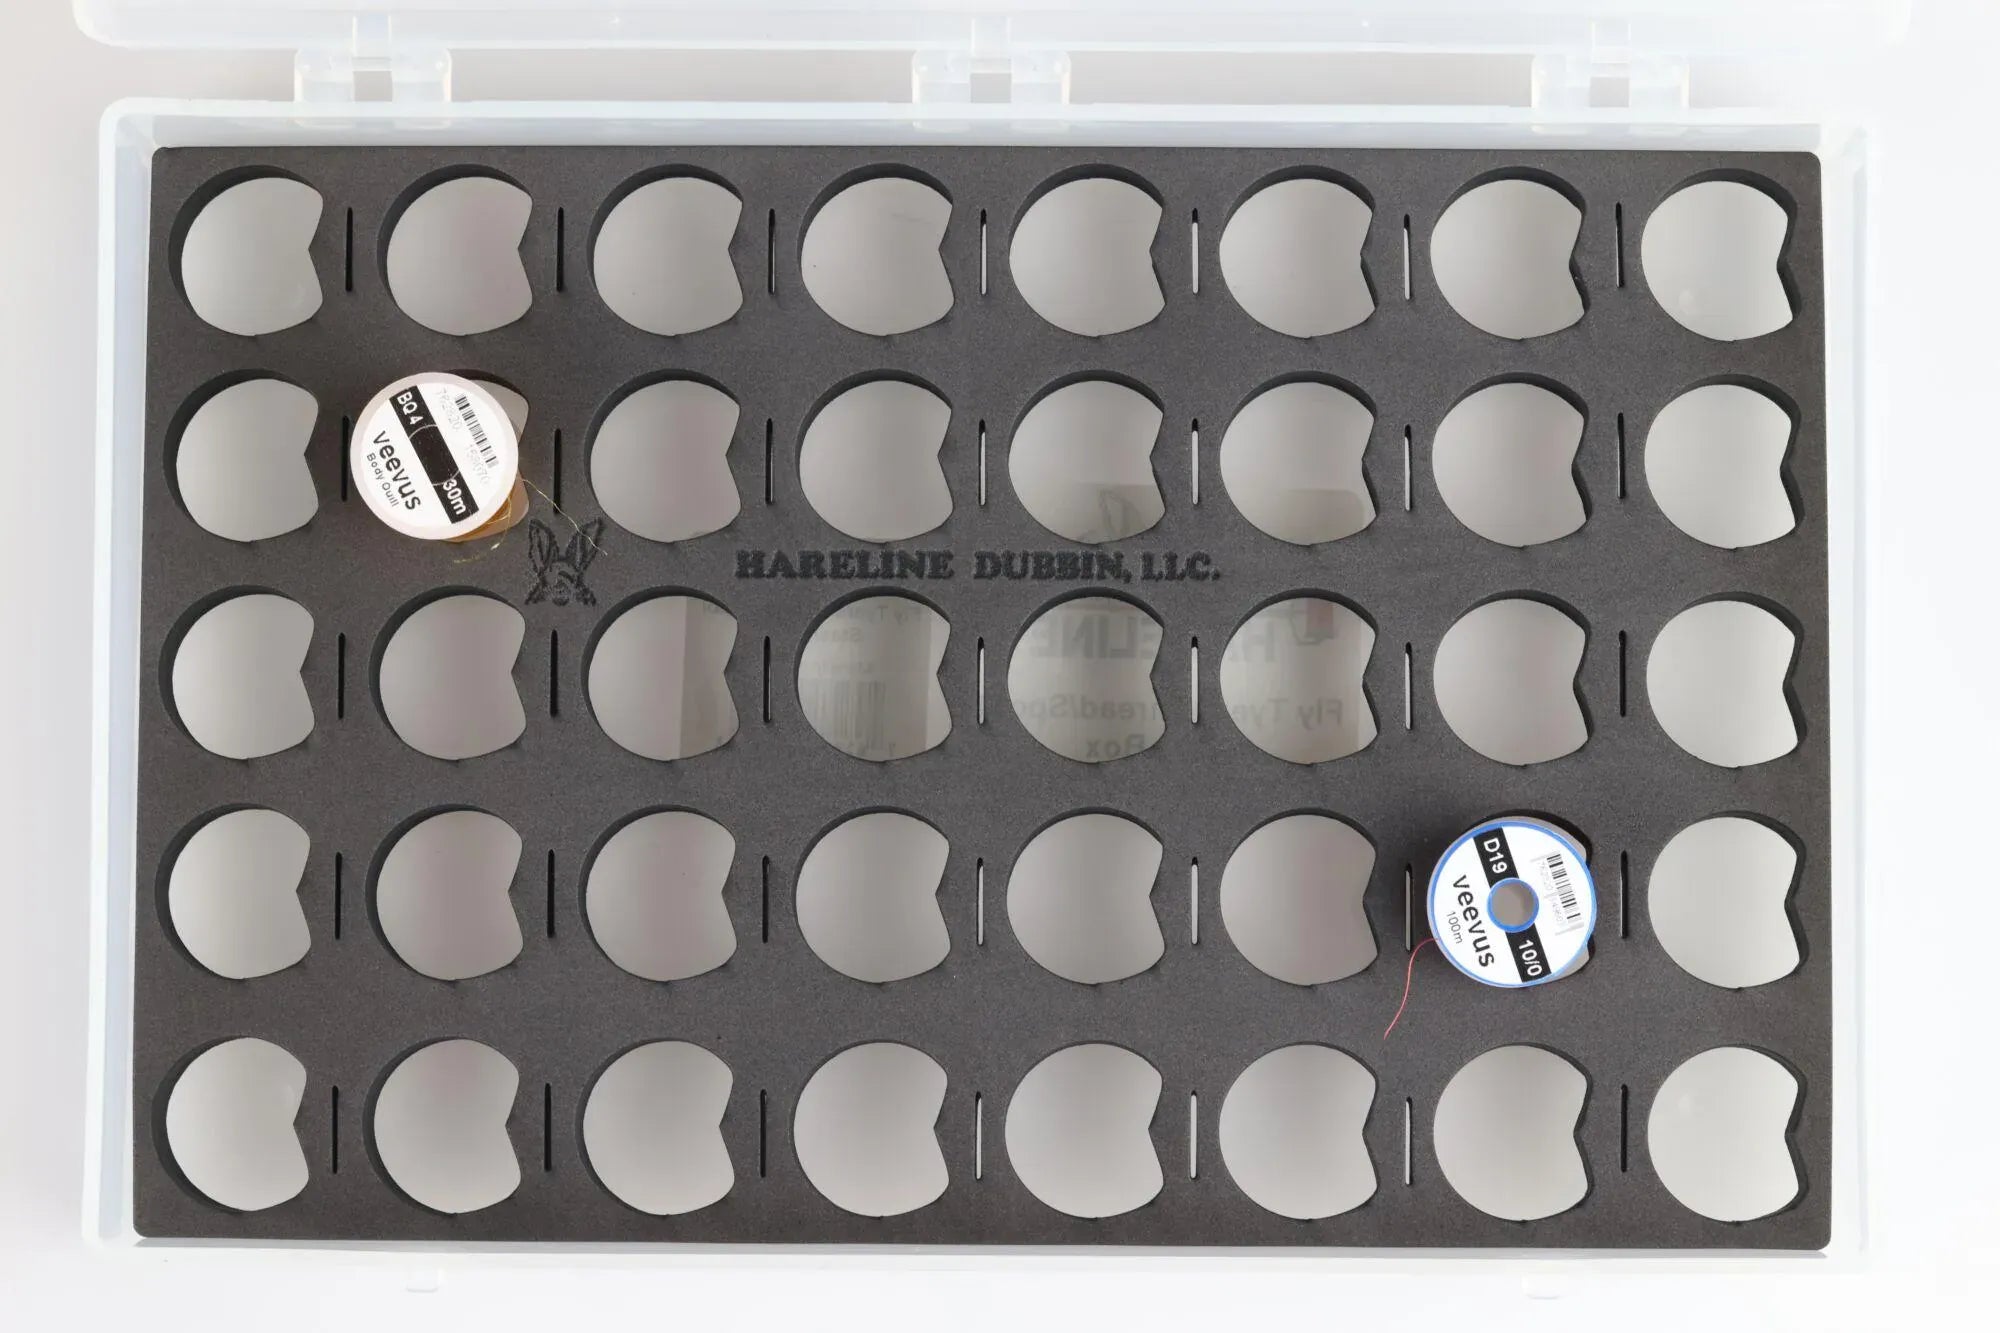
- Best Value: Hareline Fly Tyers Thread Spool Stash Box - Ideal for keeping thread colors organized and protected at the bench or in a travel kit. It reduces tangles and saves time when you’re switching colors often.
- Best Premium: Stonfo Elite Bobbin - Built for tiers who want smooth thread control and consistent tension through long tying sessions. It’s a strong choice when you’re tying small flies with tight thread control, then jumping to bigger patterns.
How to Choose Fly Tying Tools
Fly tying tools start with the true essentials
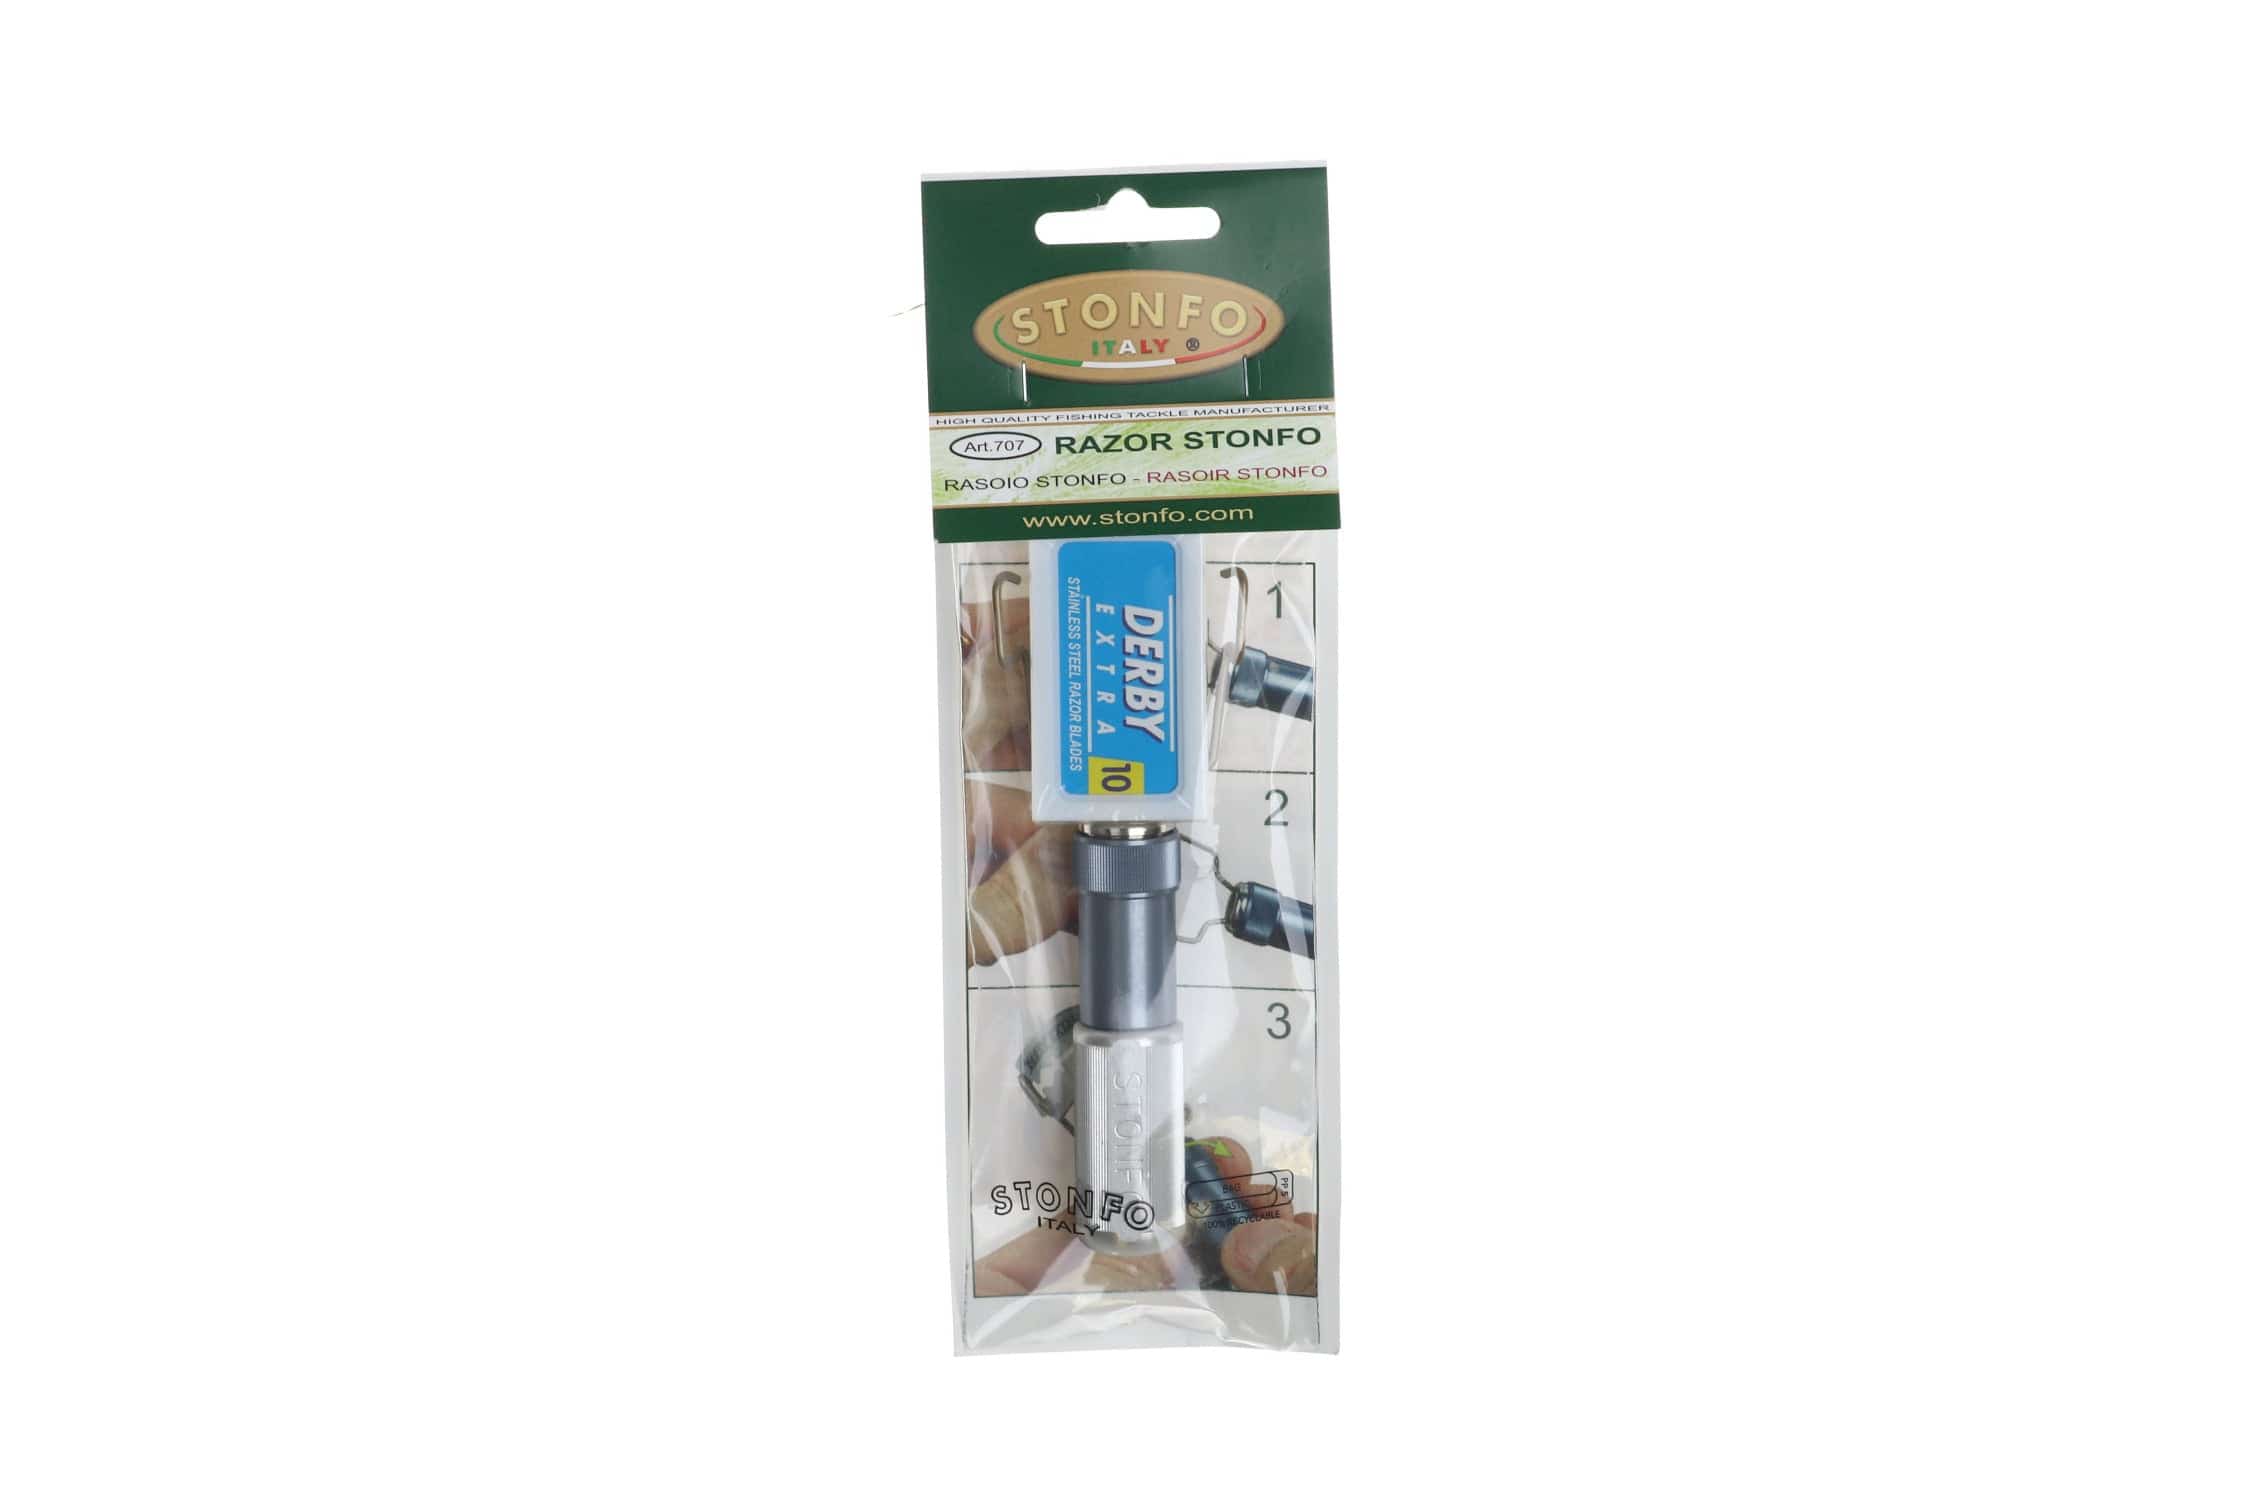
- Scissors: A sharp, fine-point pair handles thread work, trimming hackle tips, and tight cuts around the head.
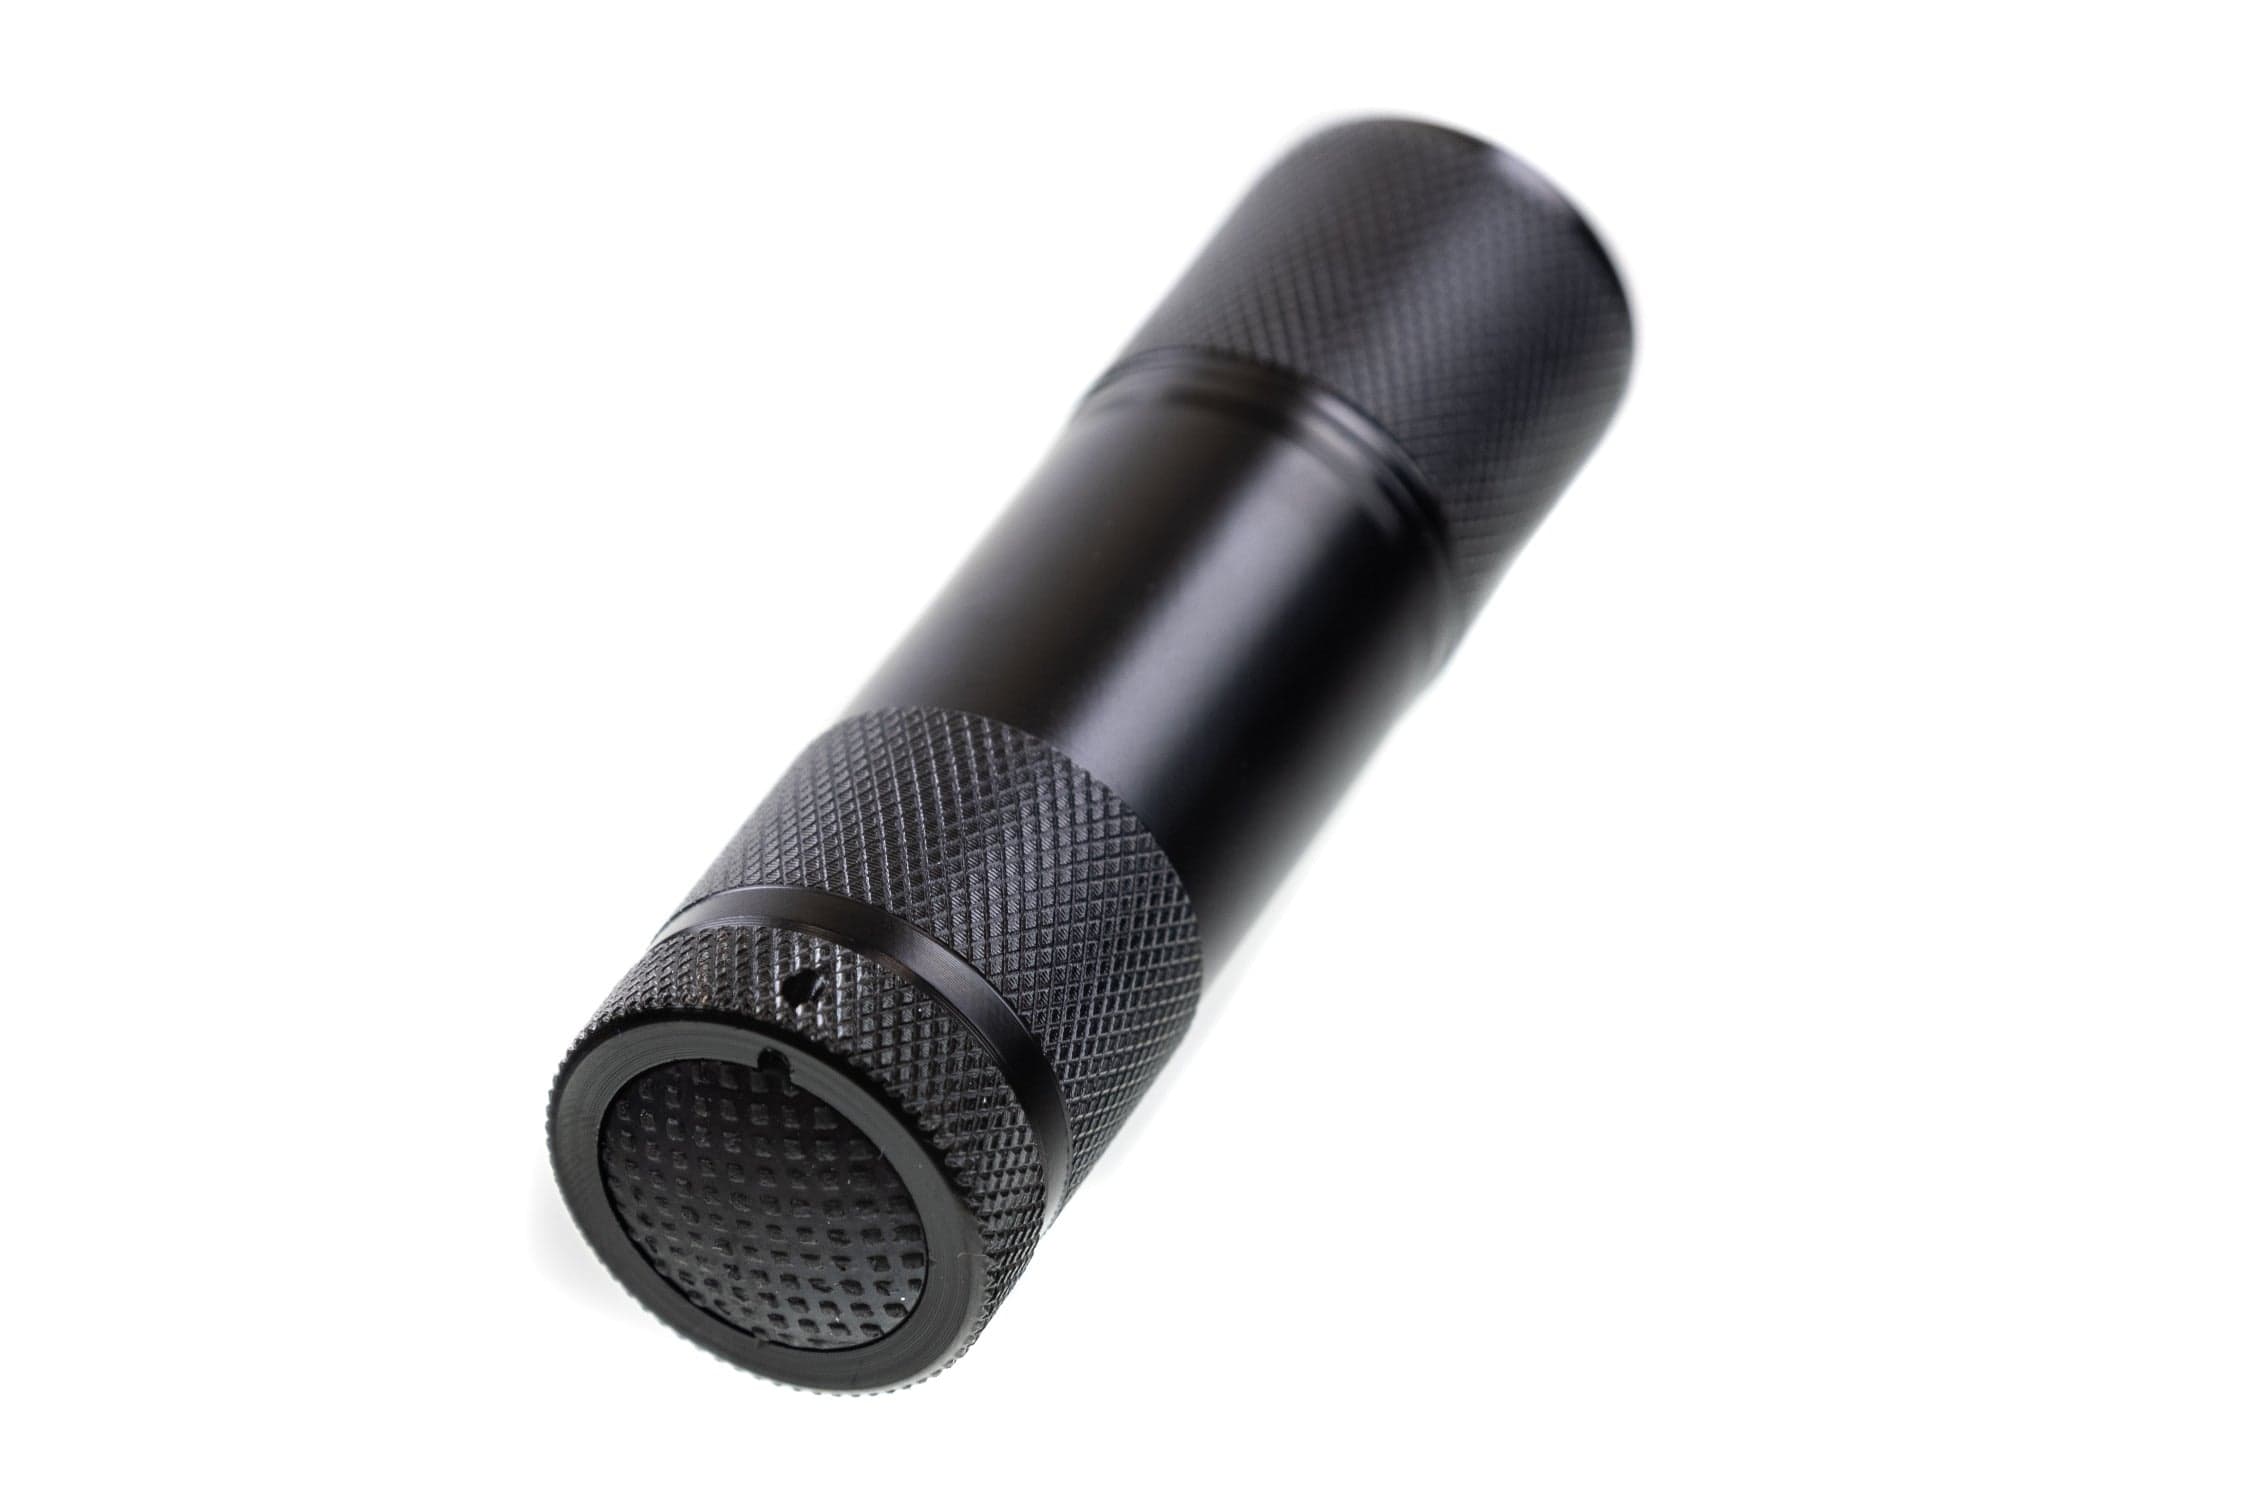
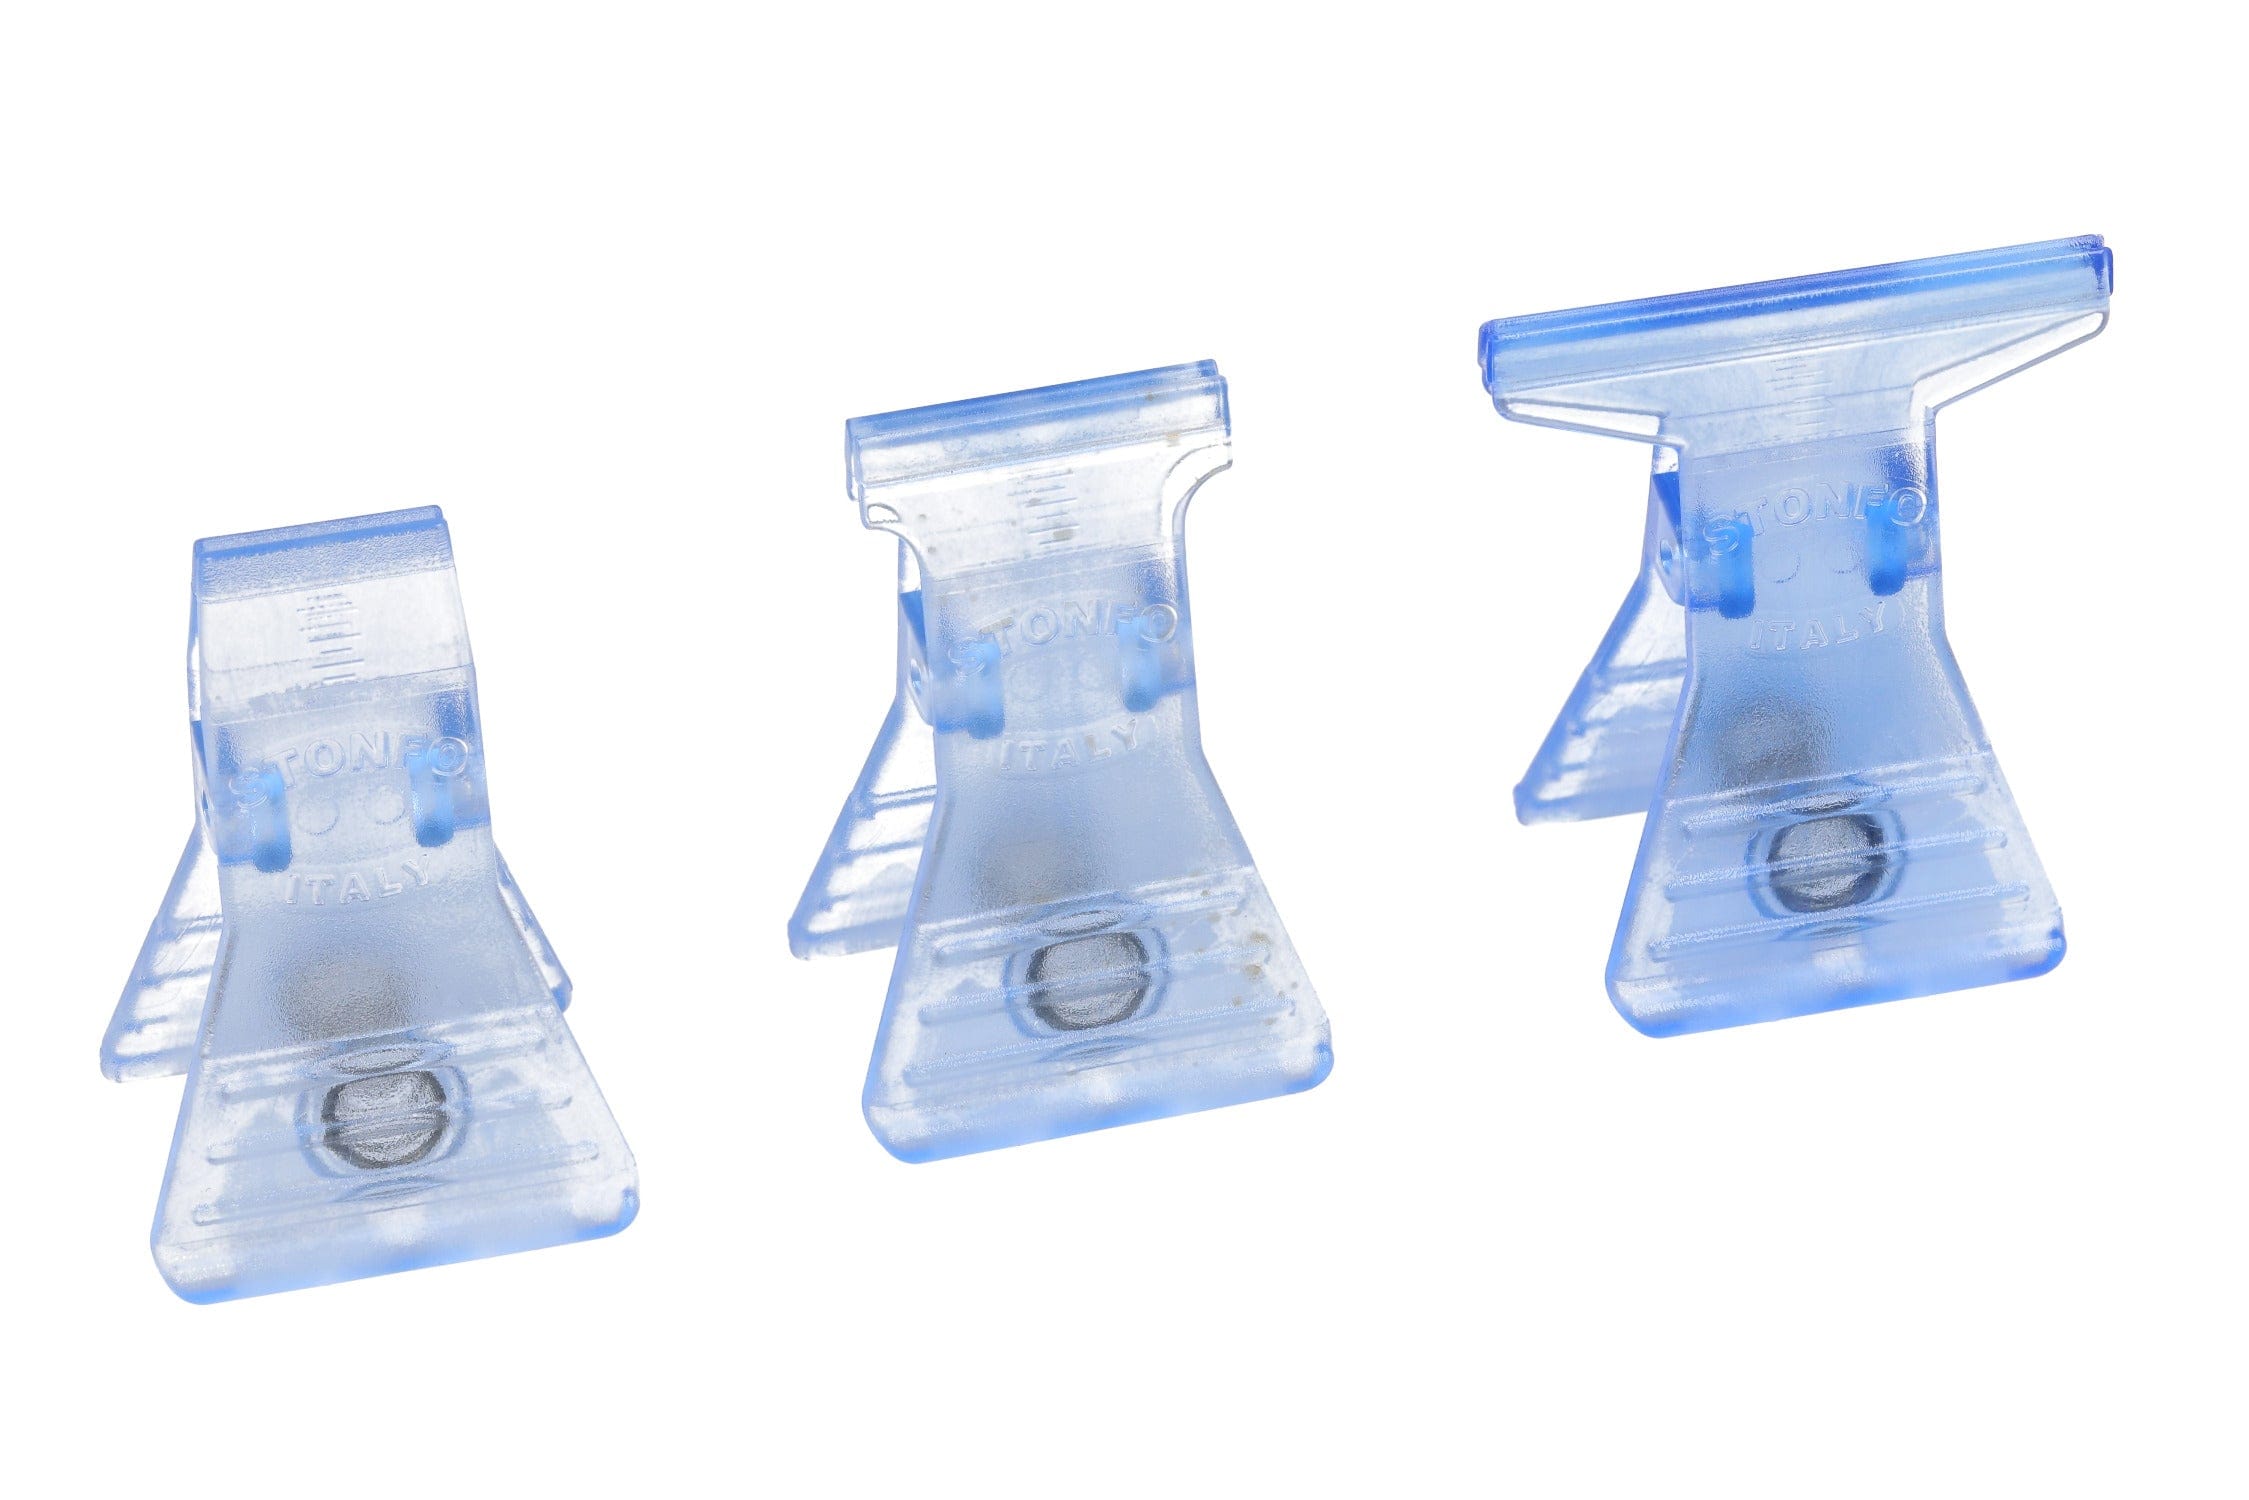
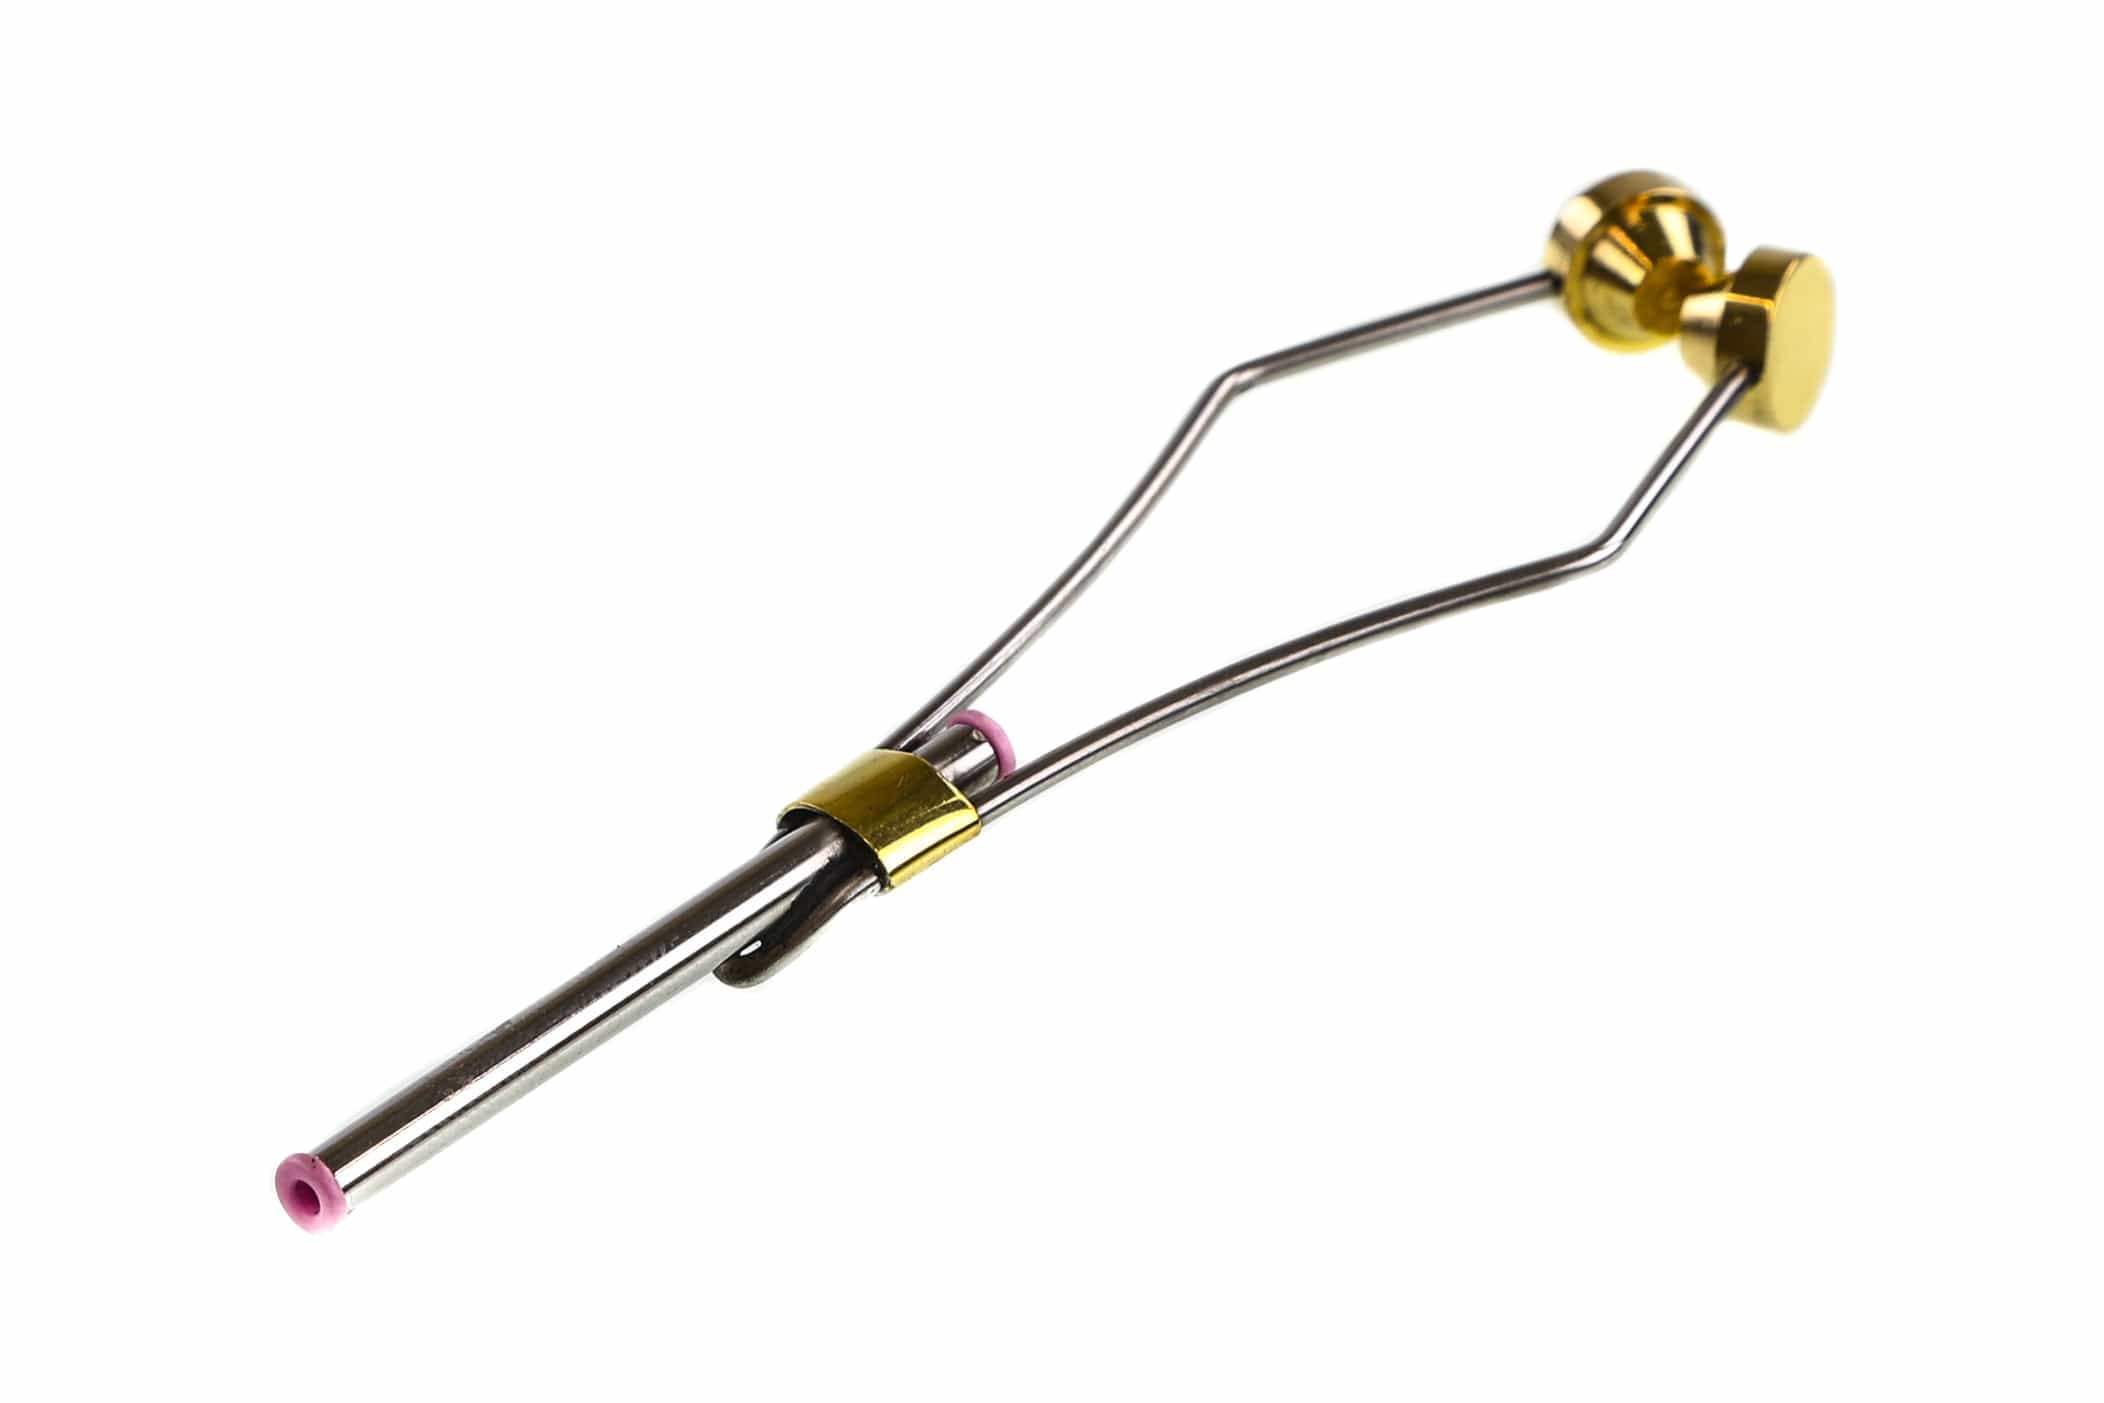
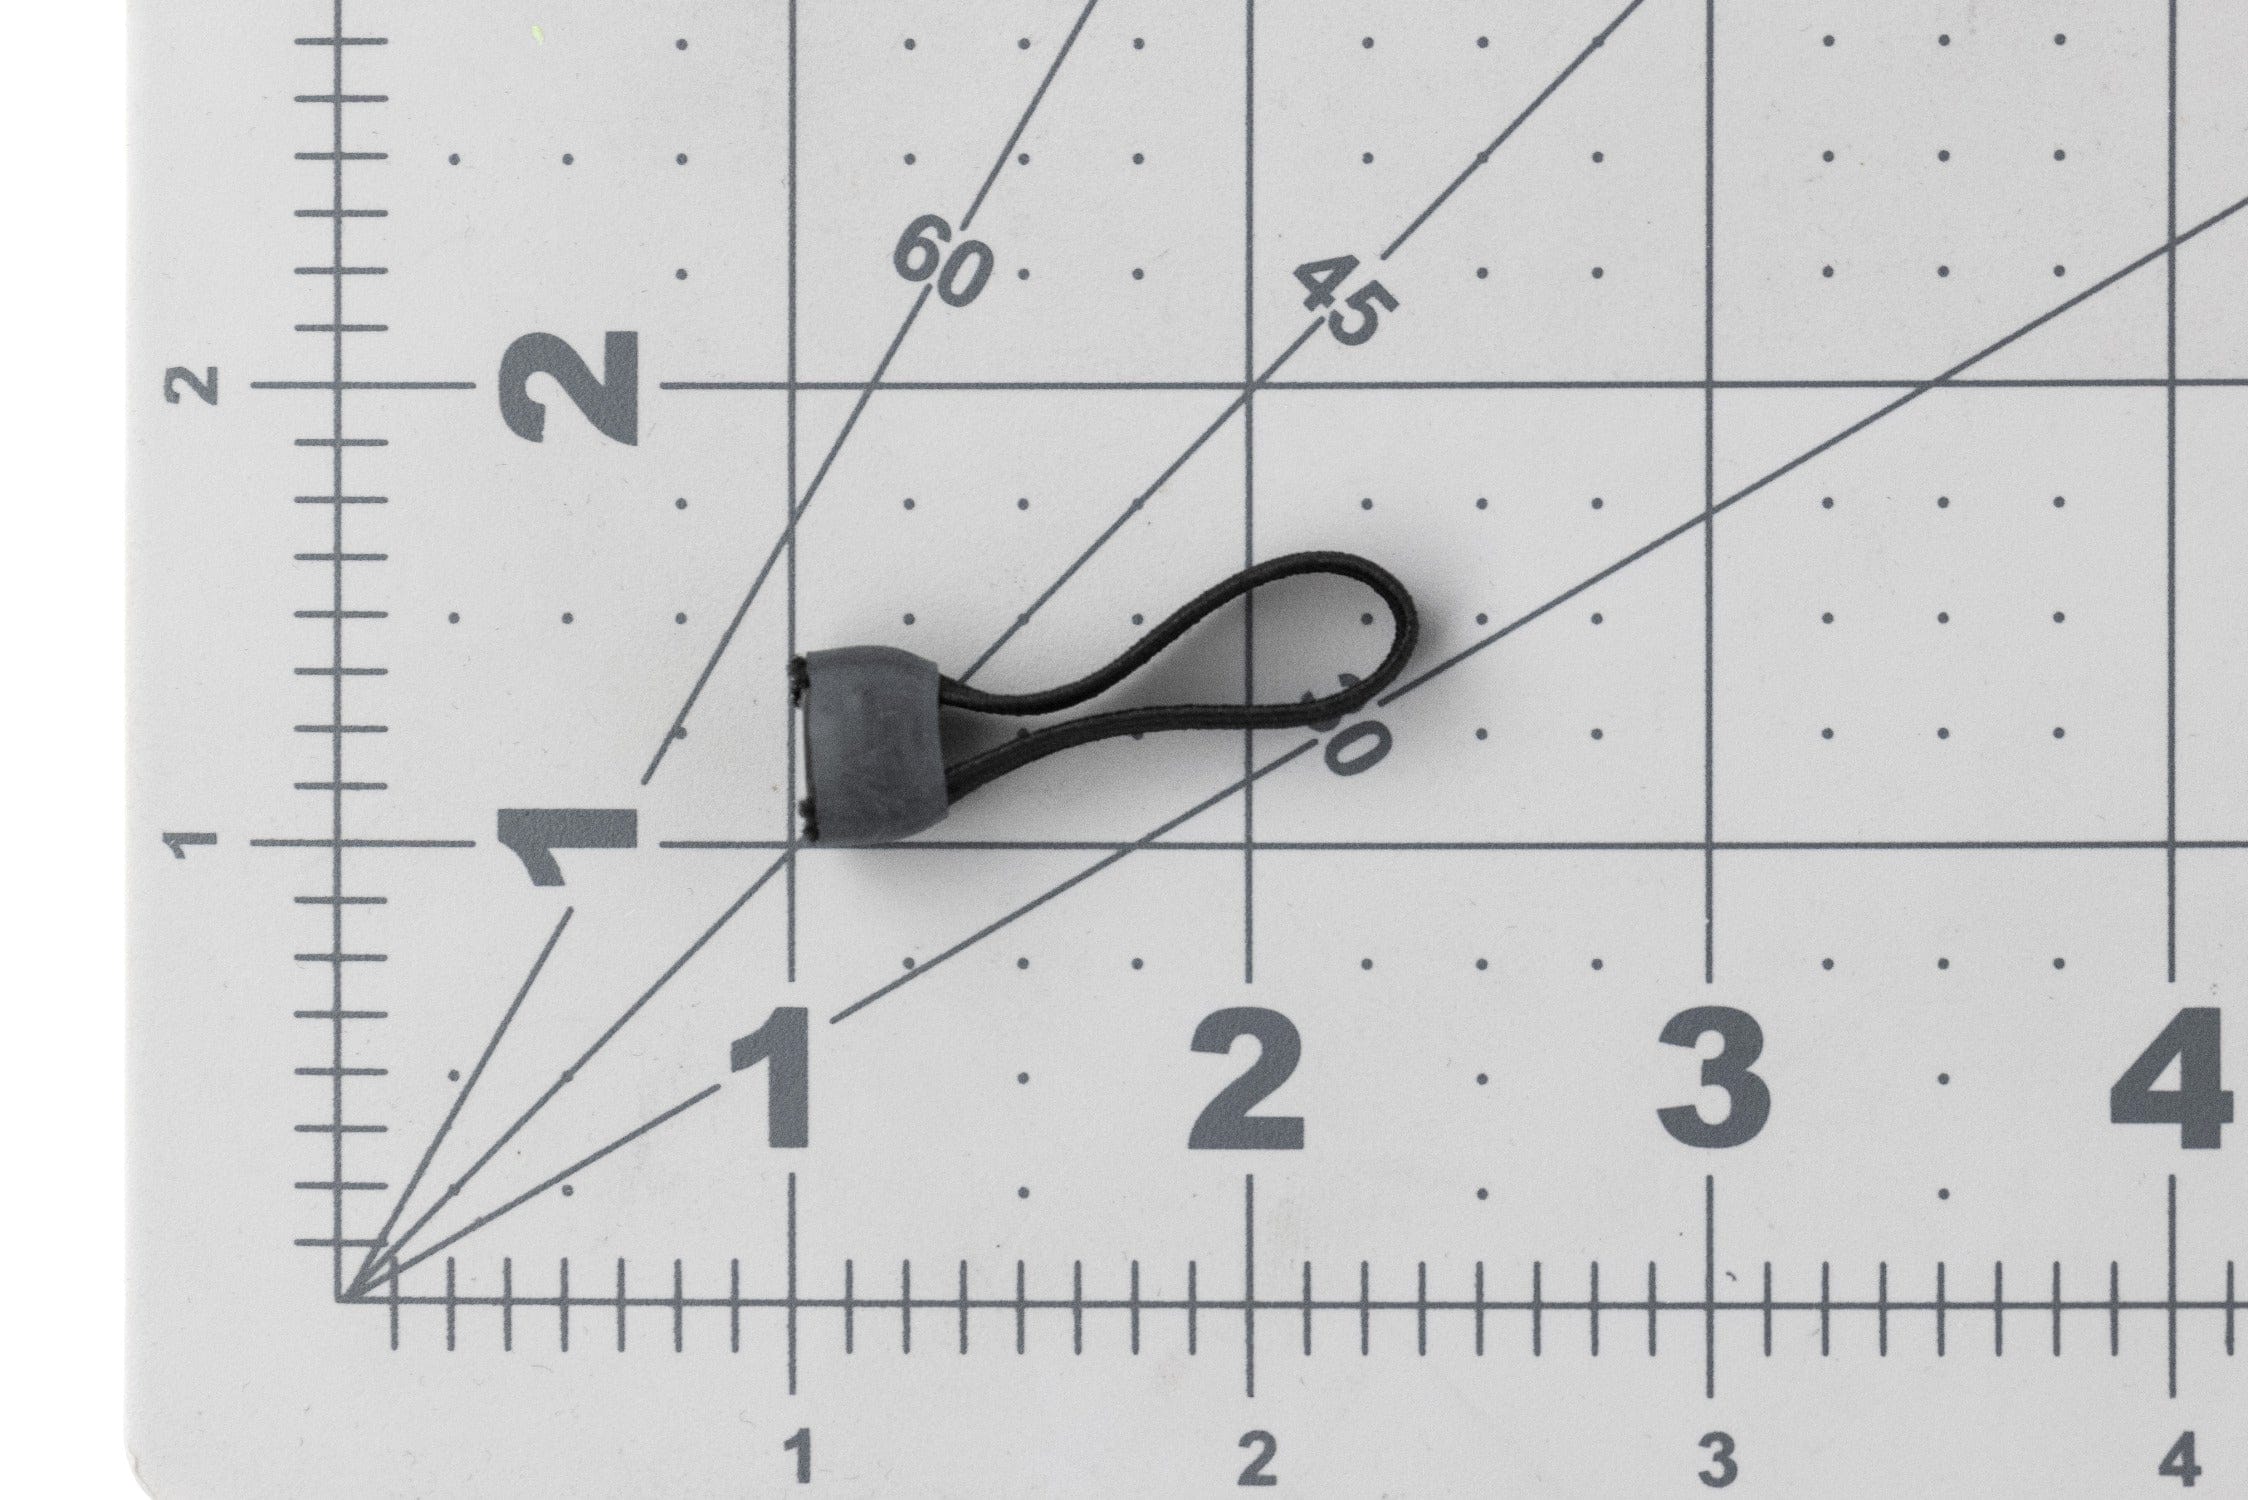
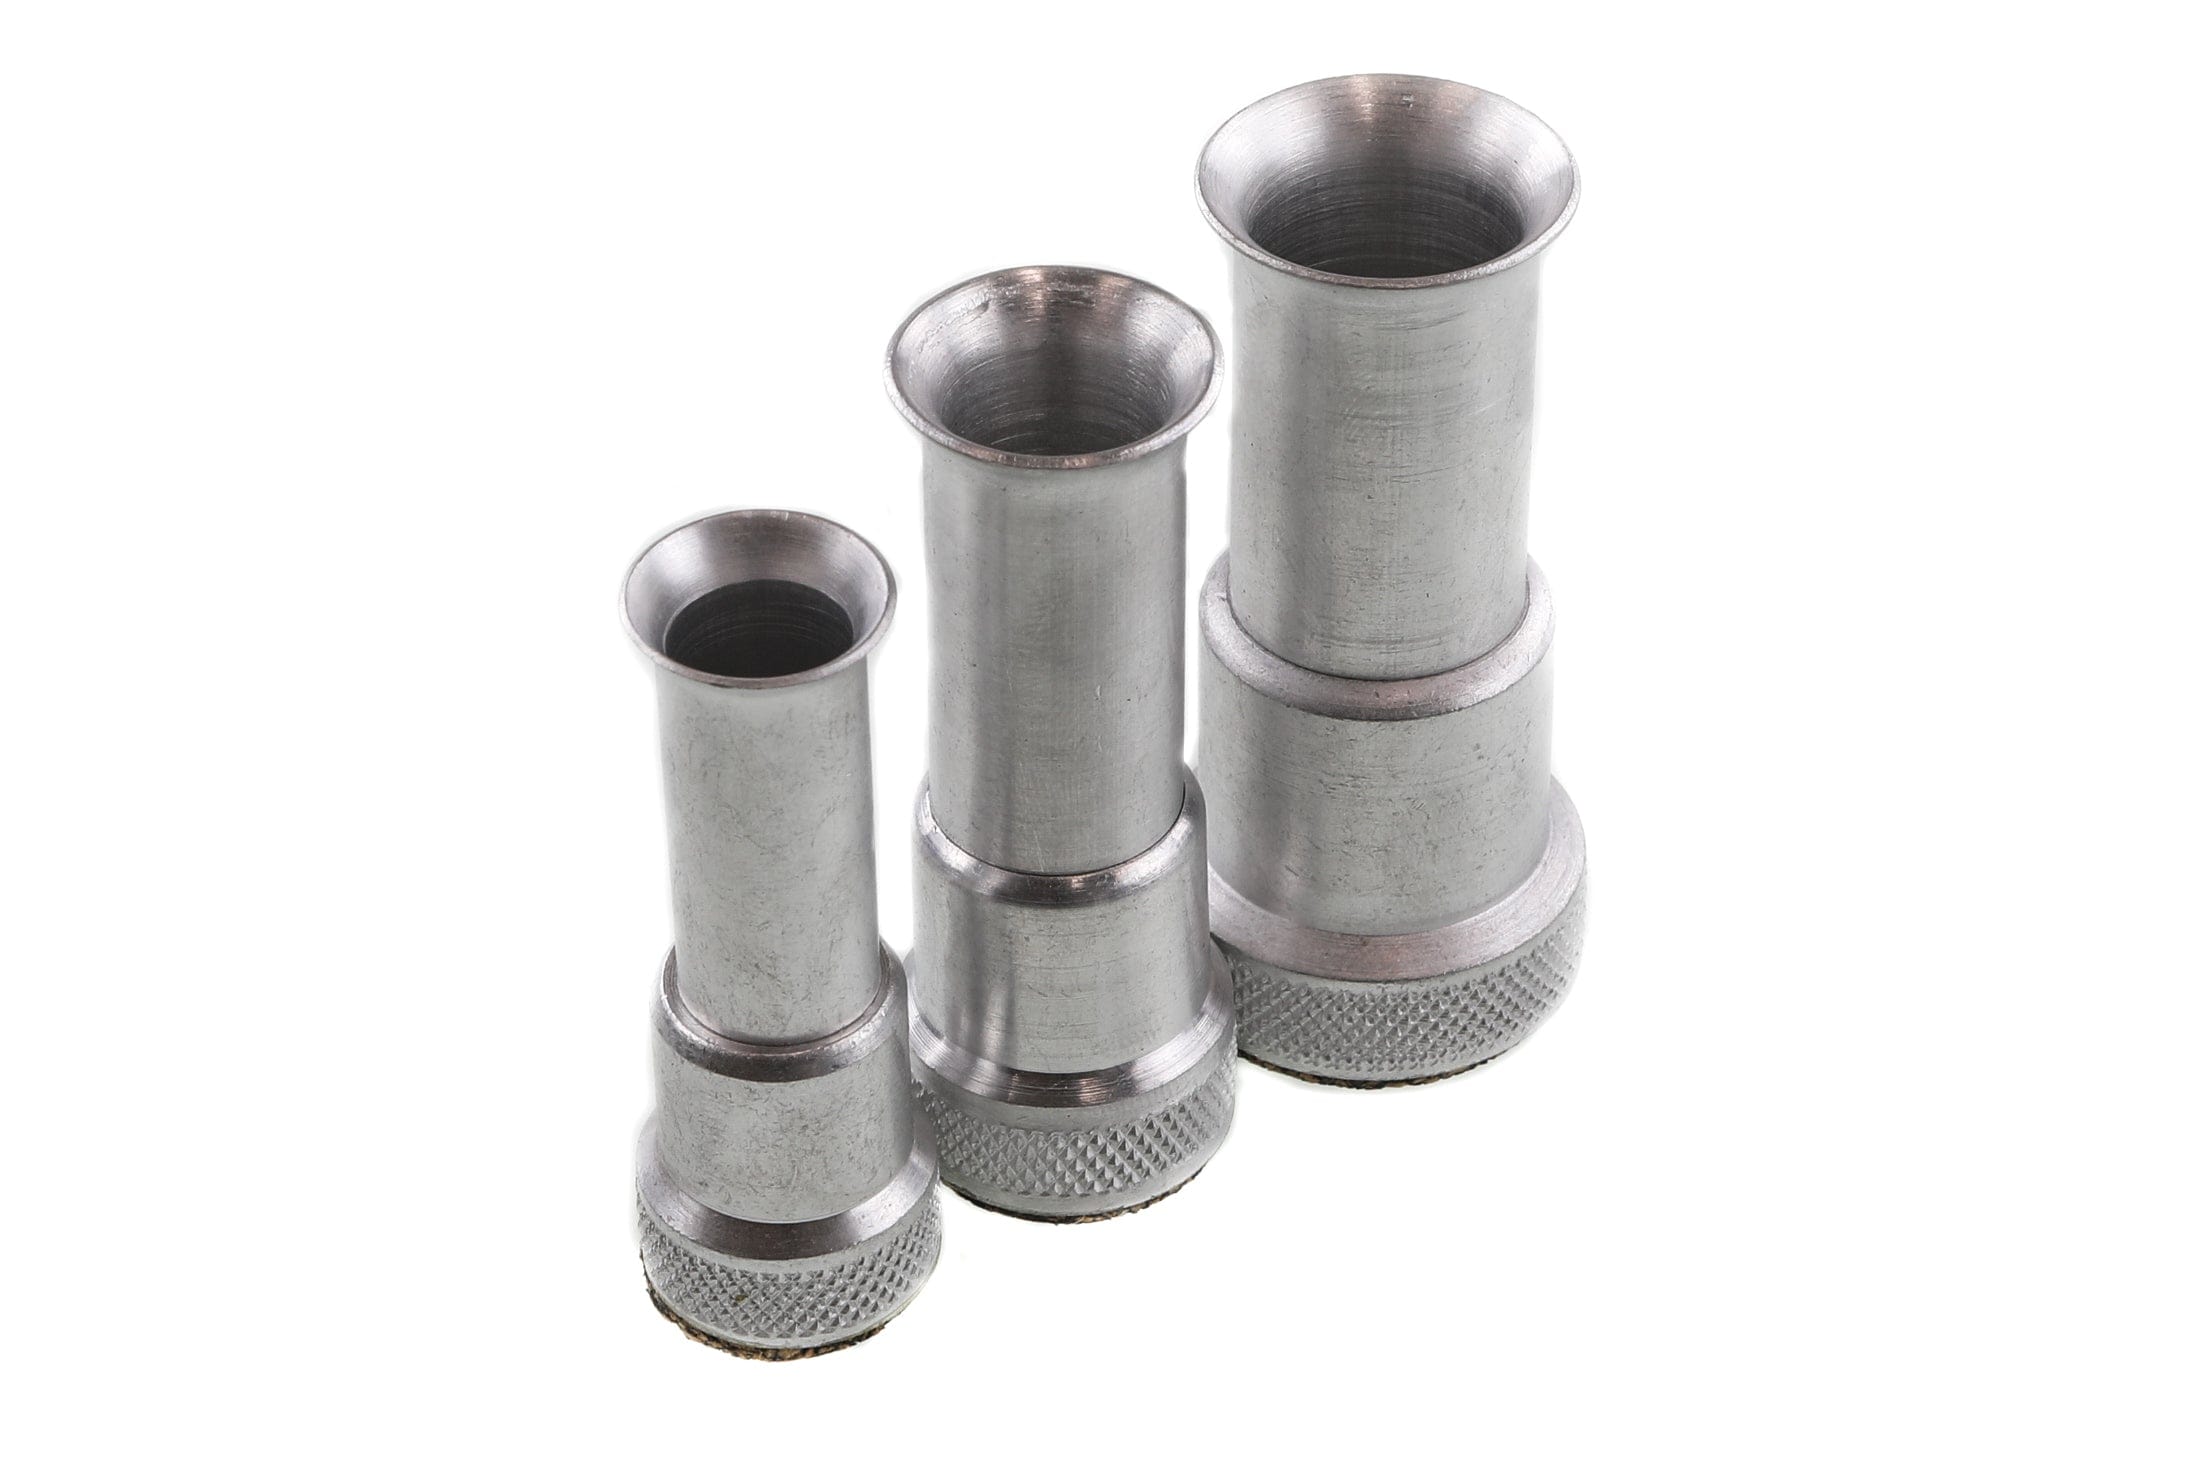
- Bobbin: Your thread control tool, smooth feed and comfortable balance matter more than most people expect.
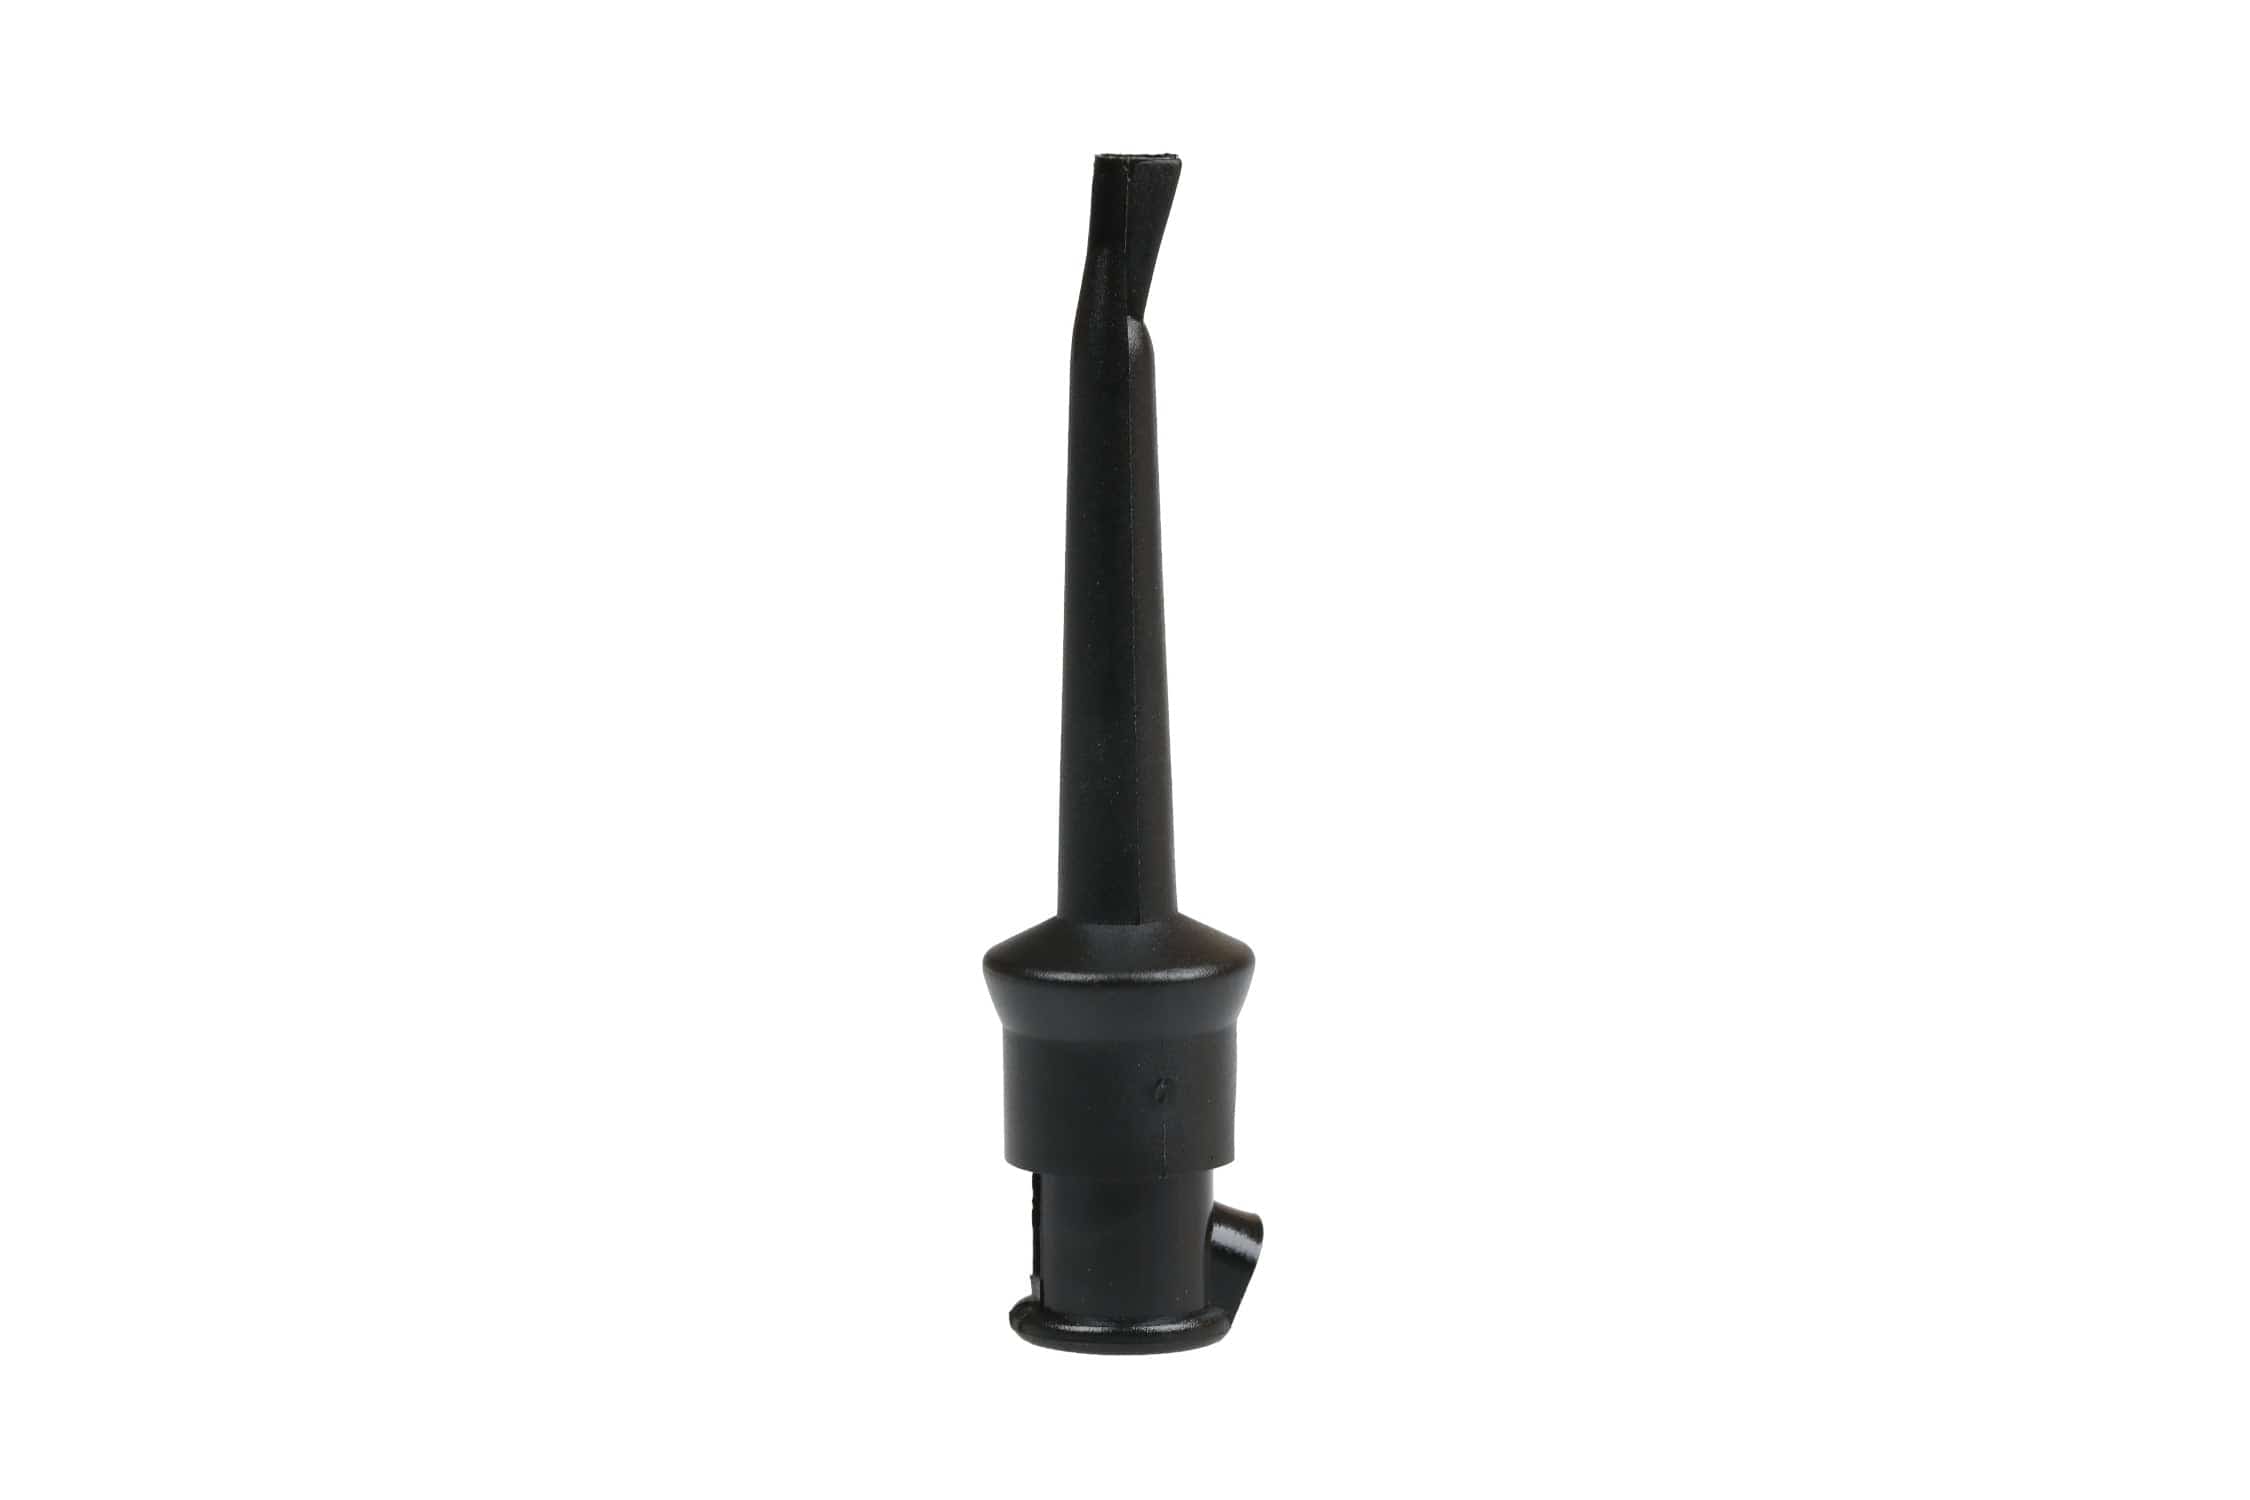
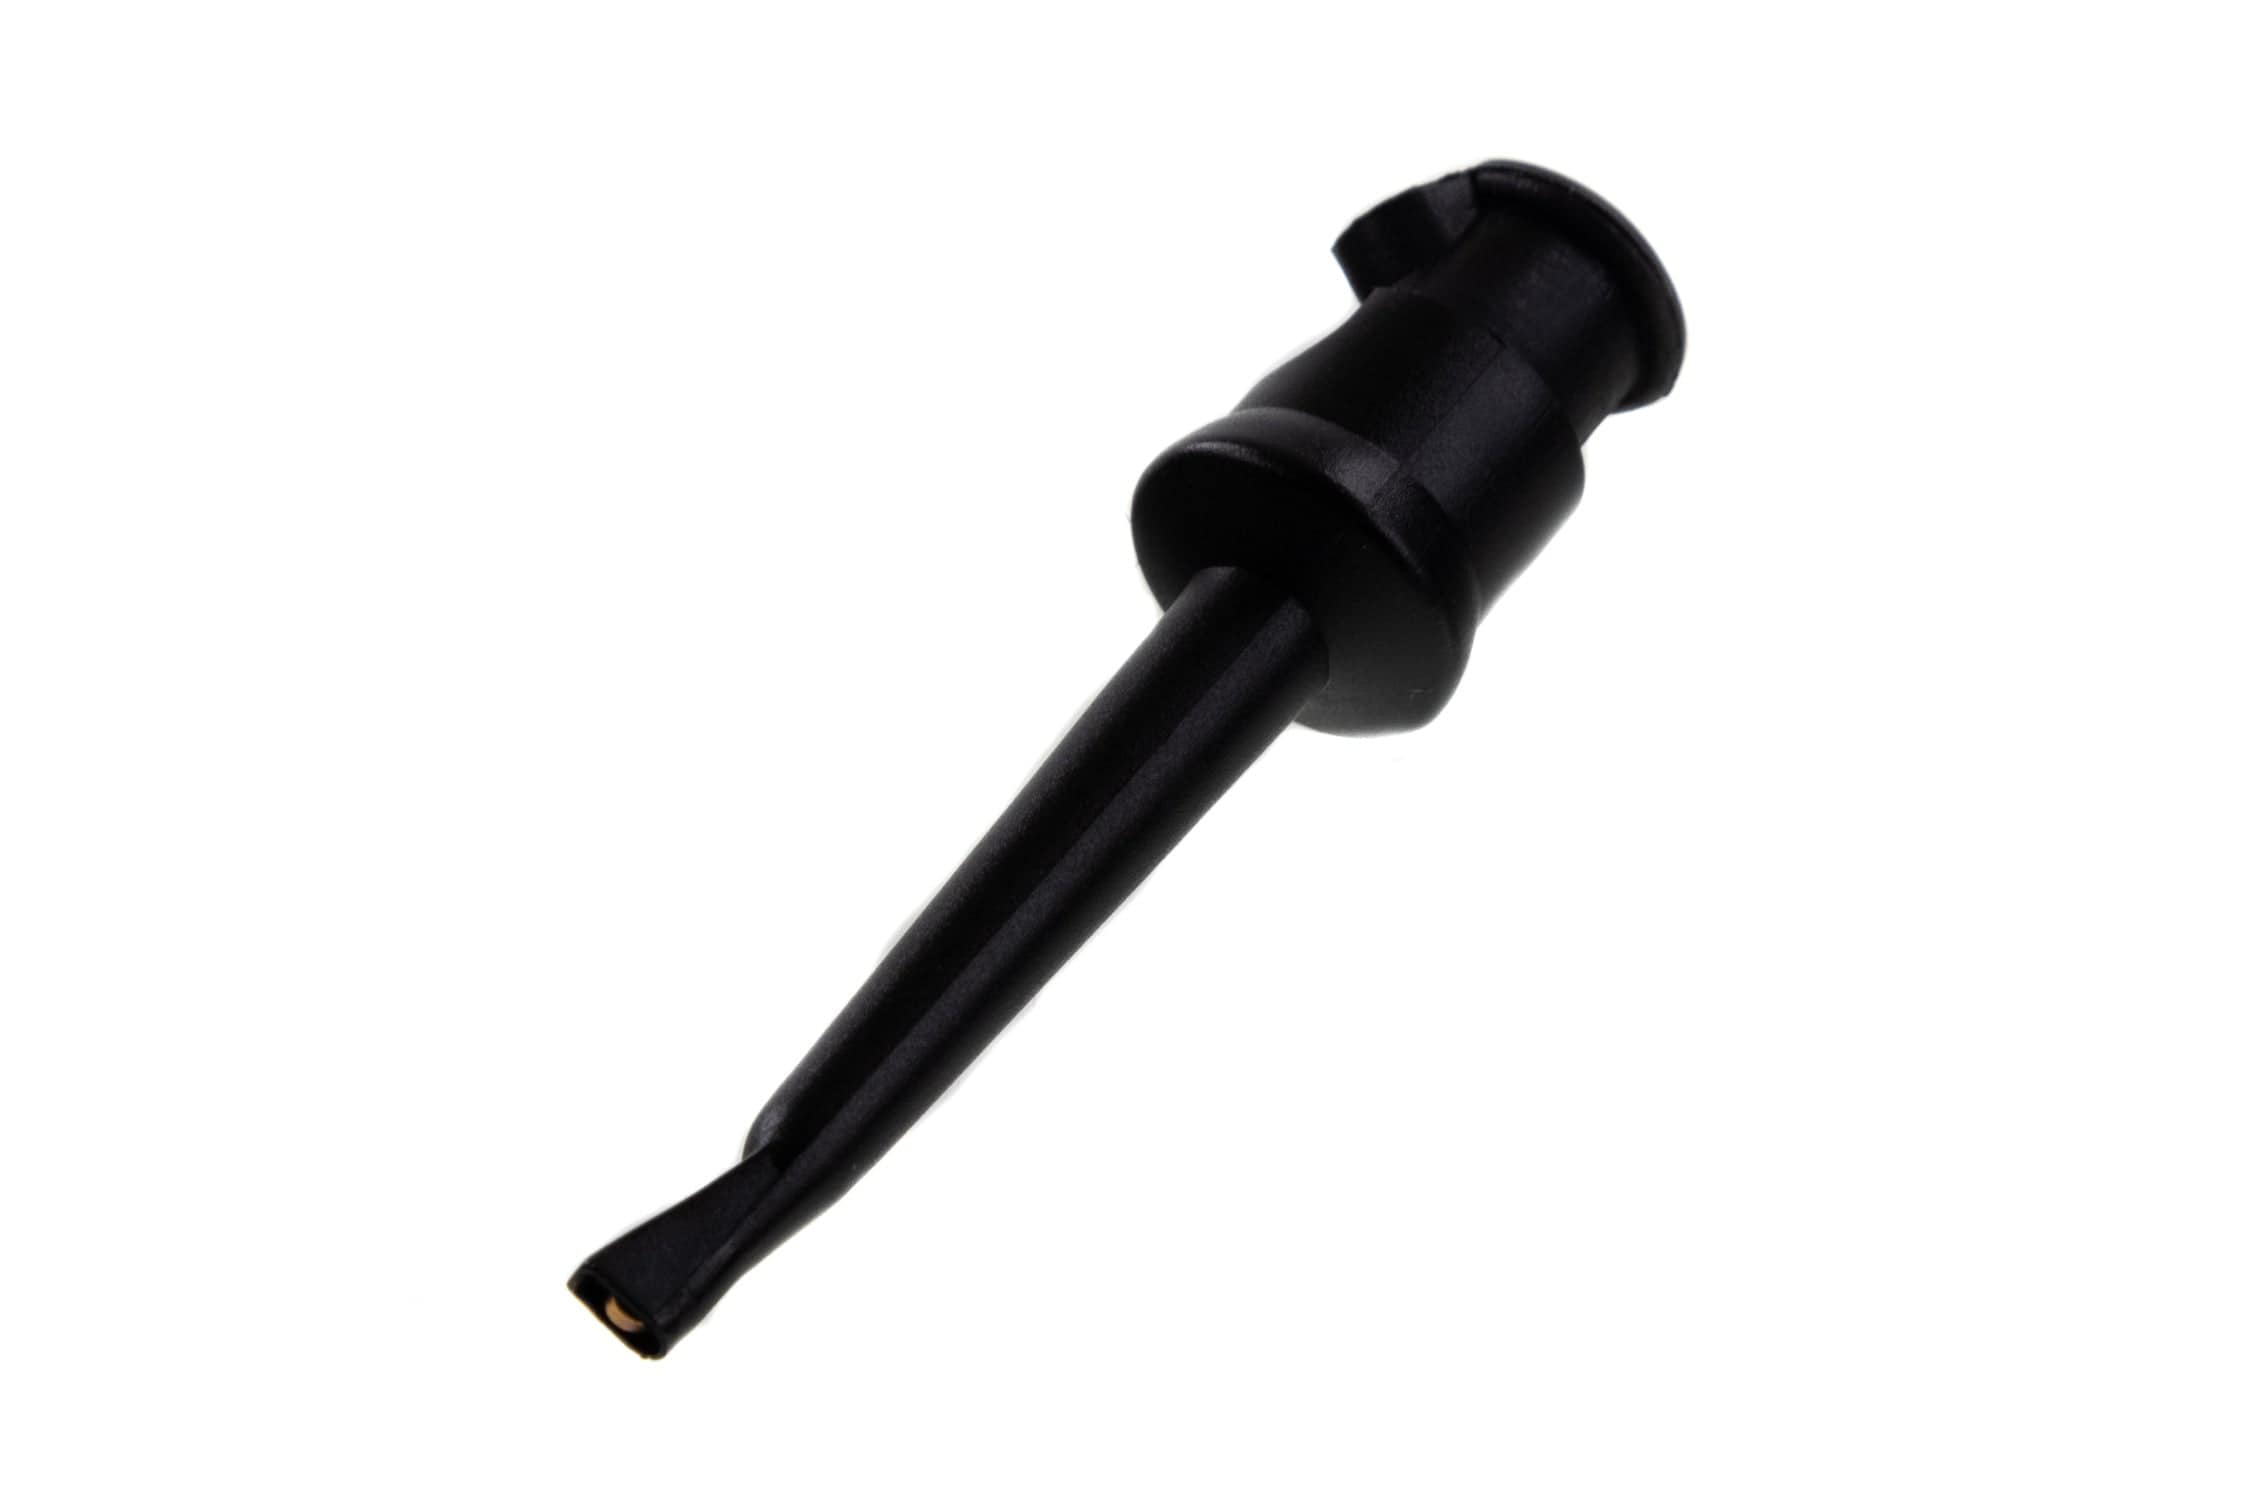
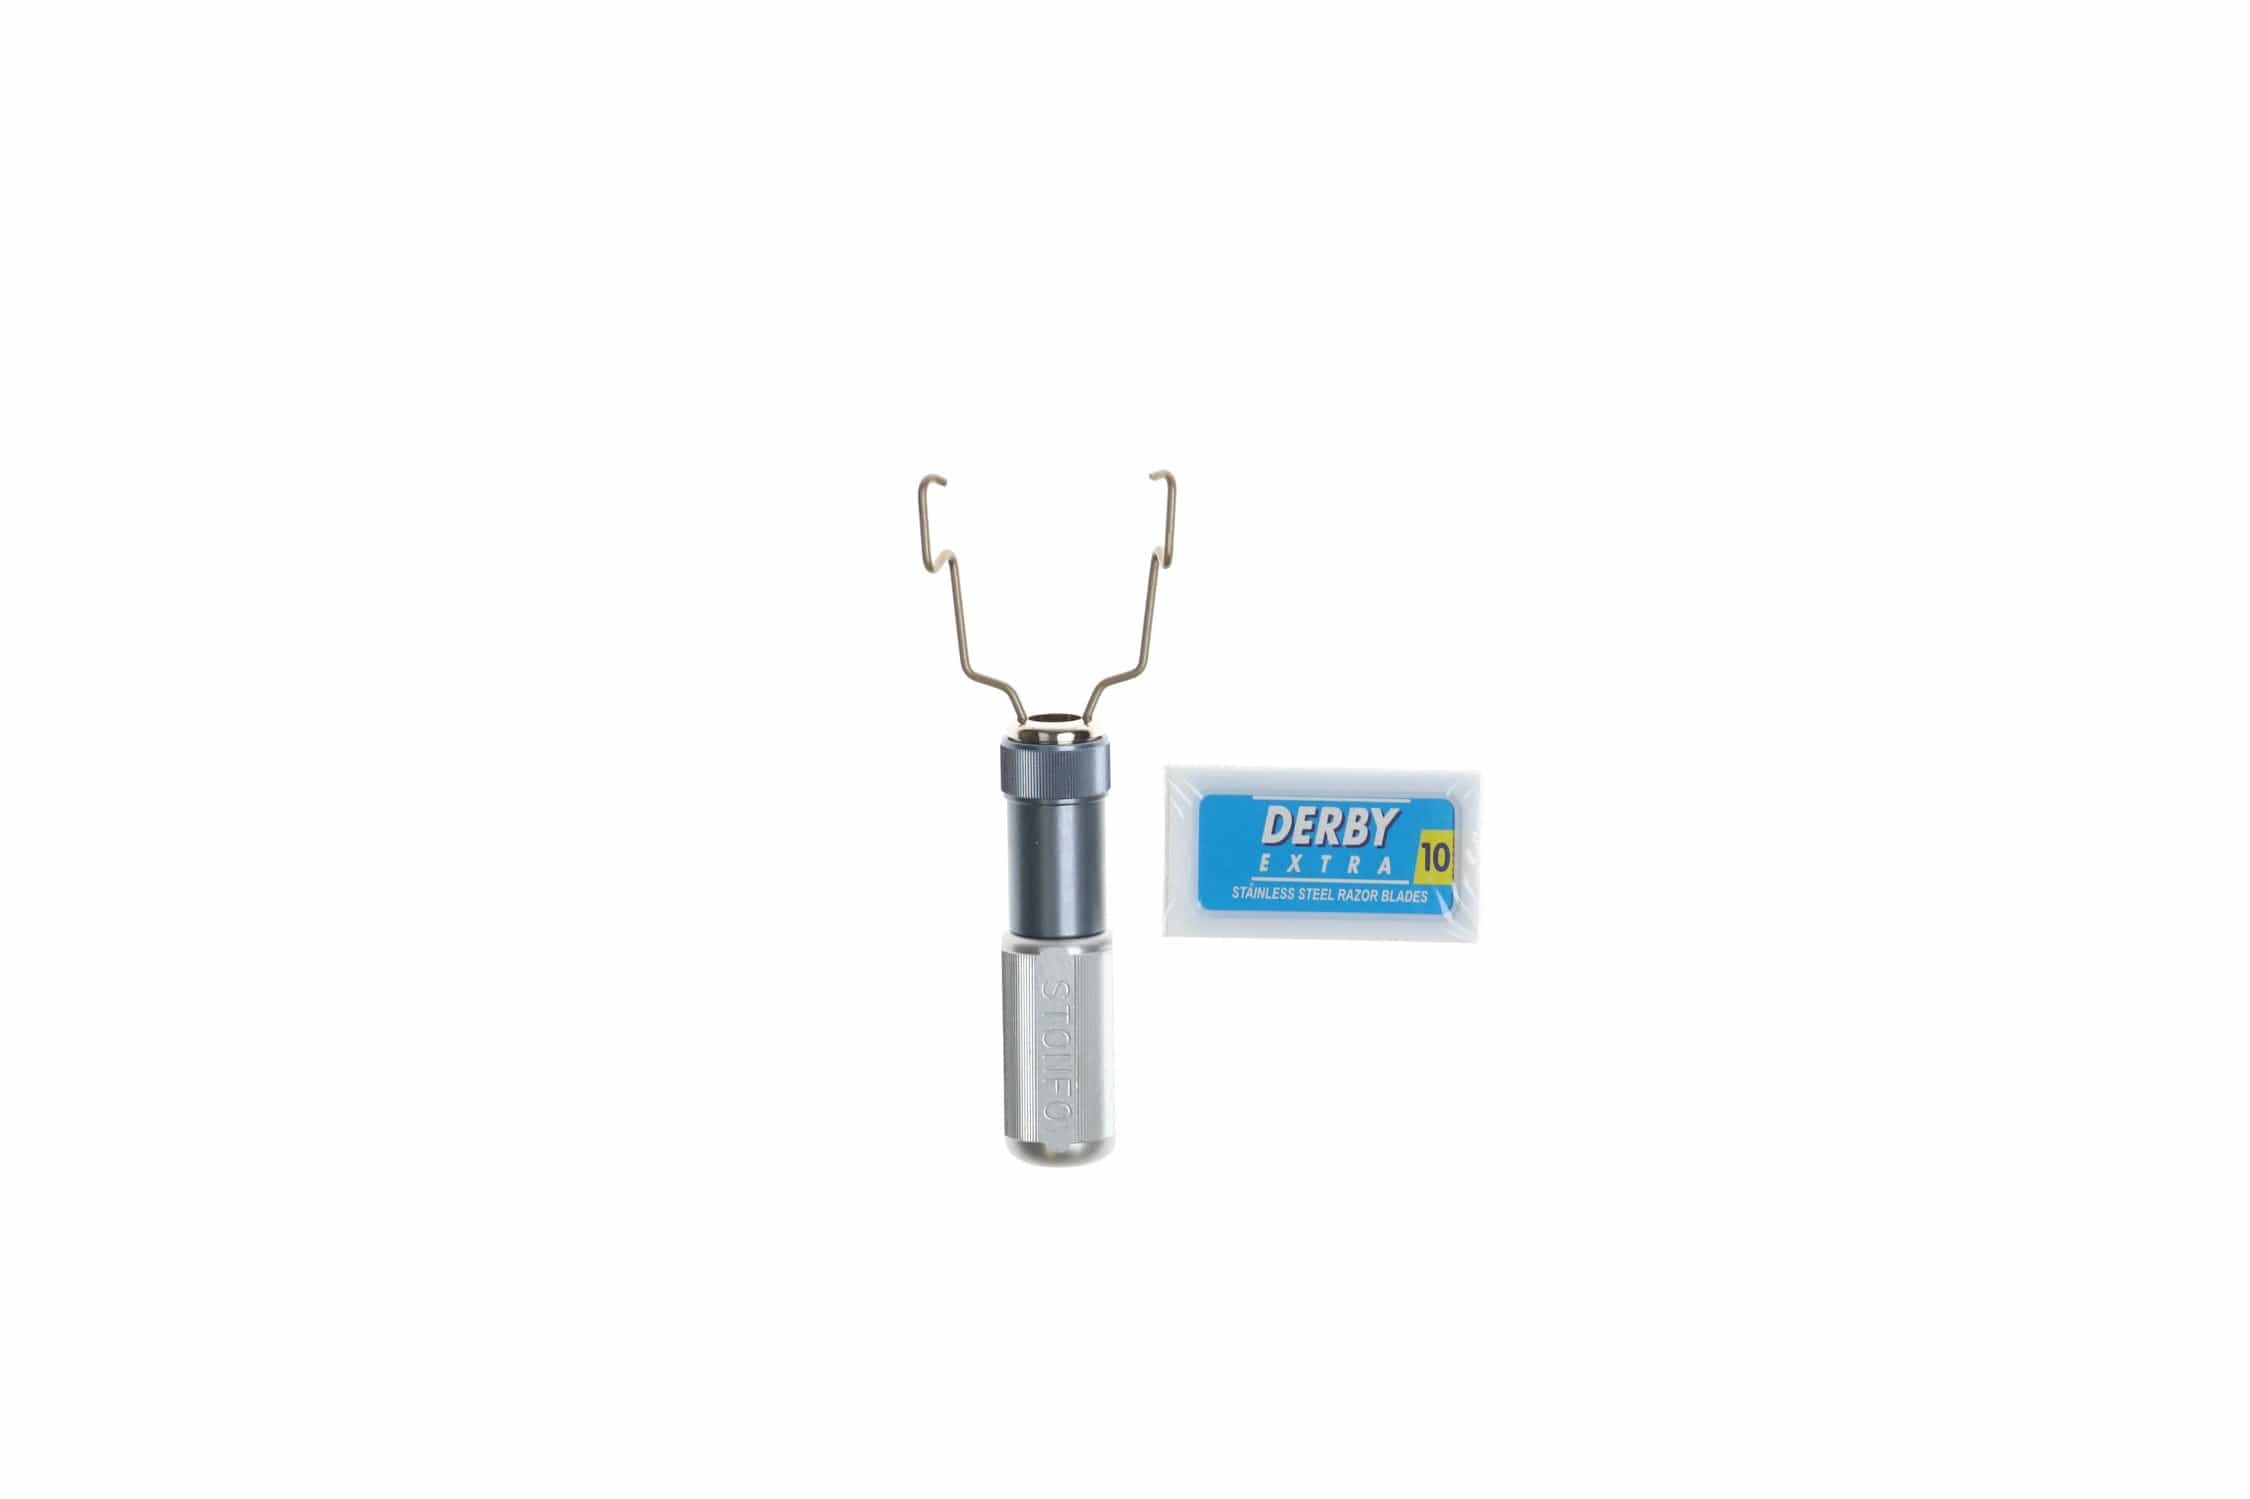
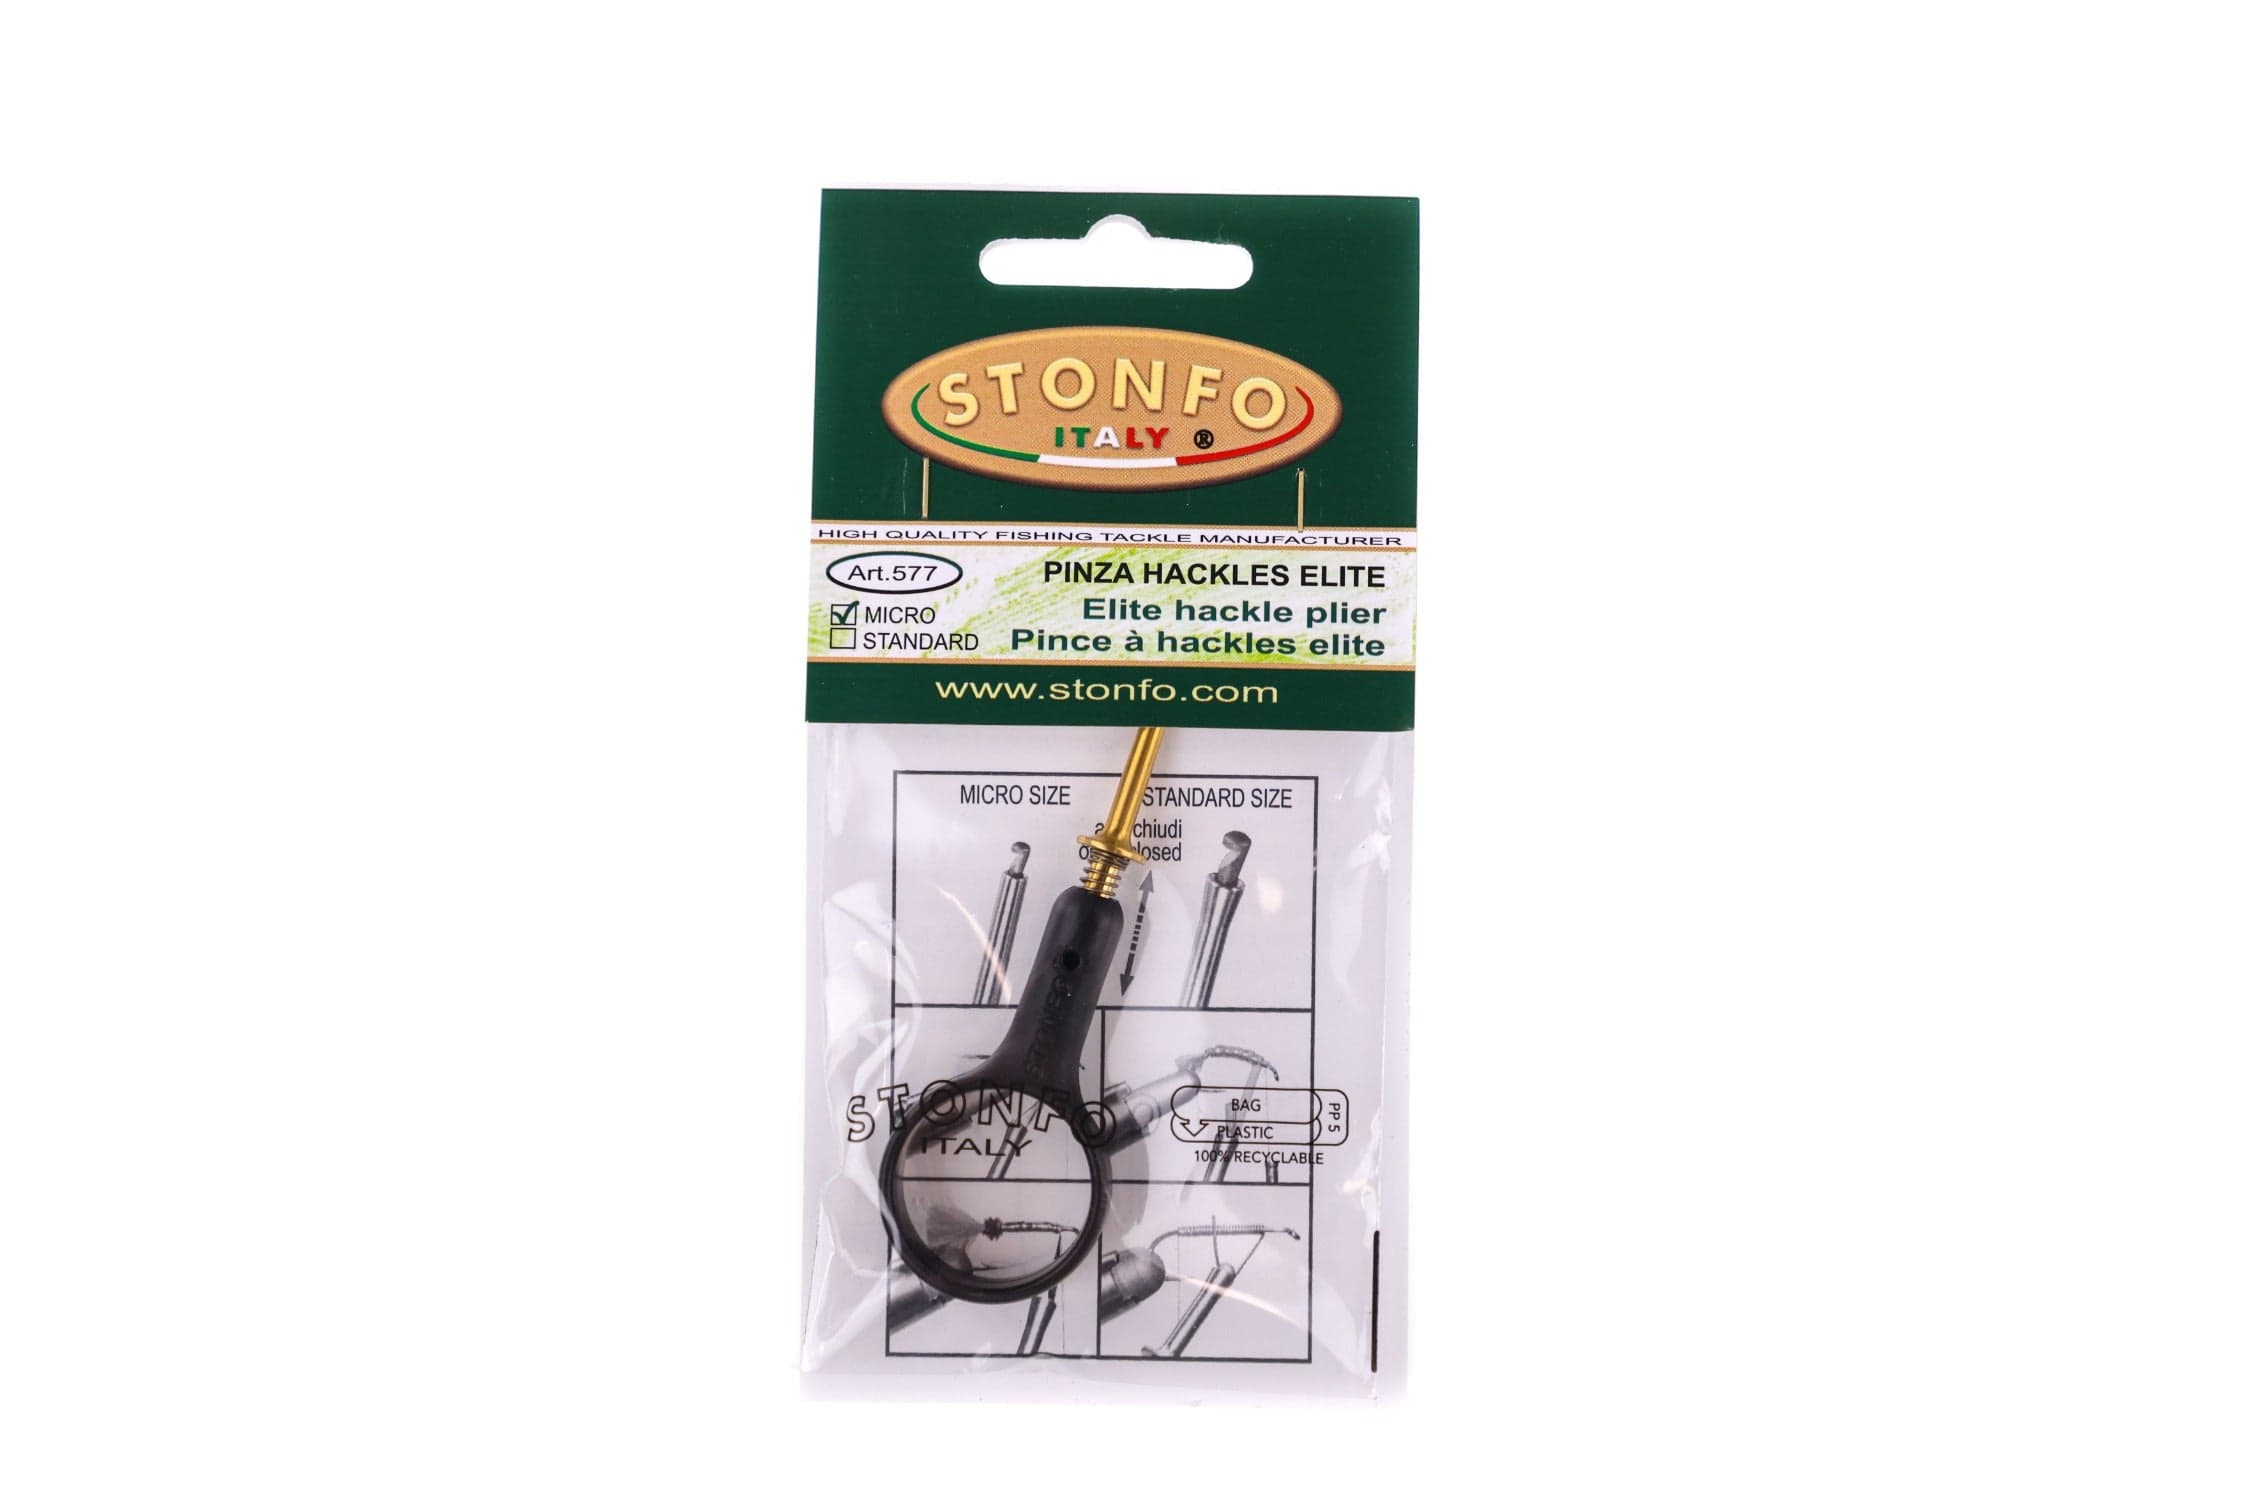
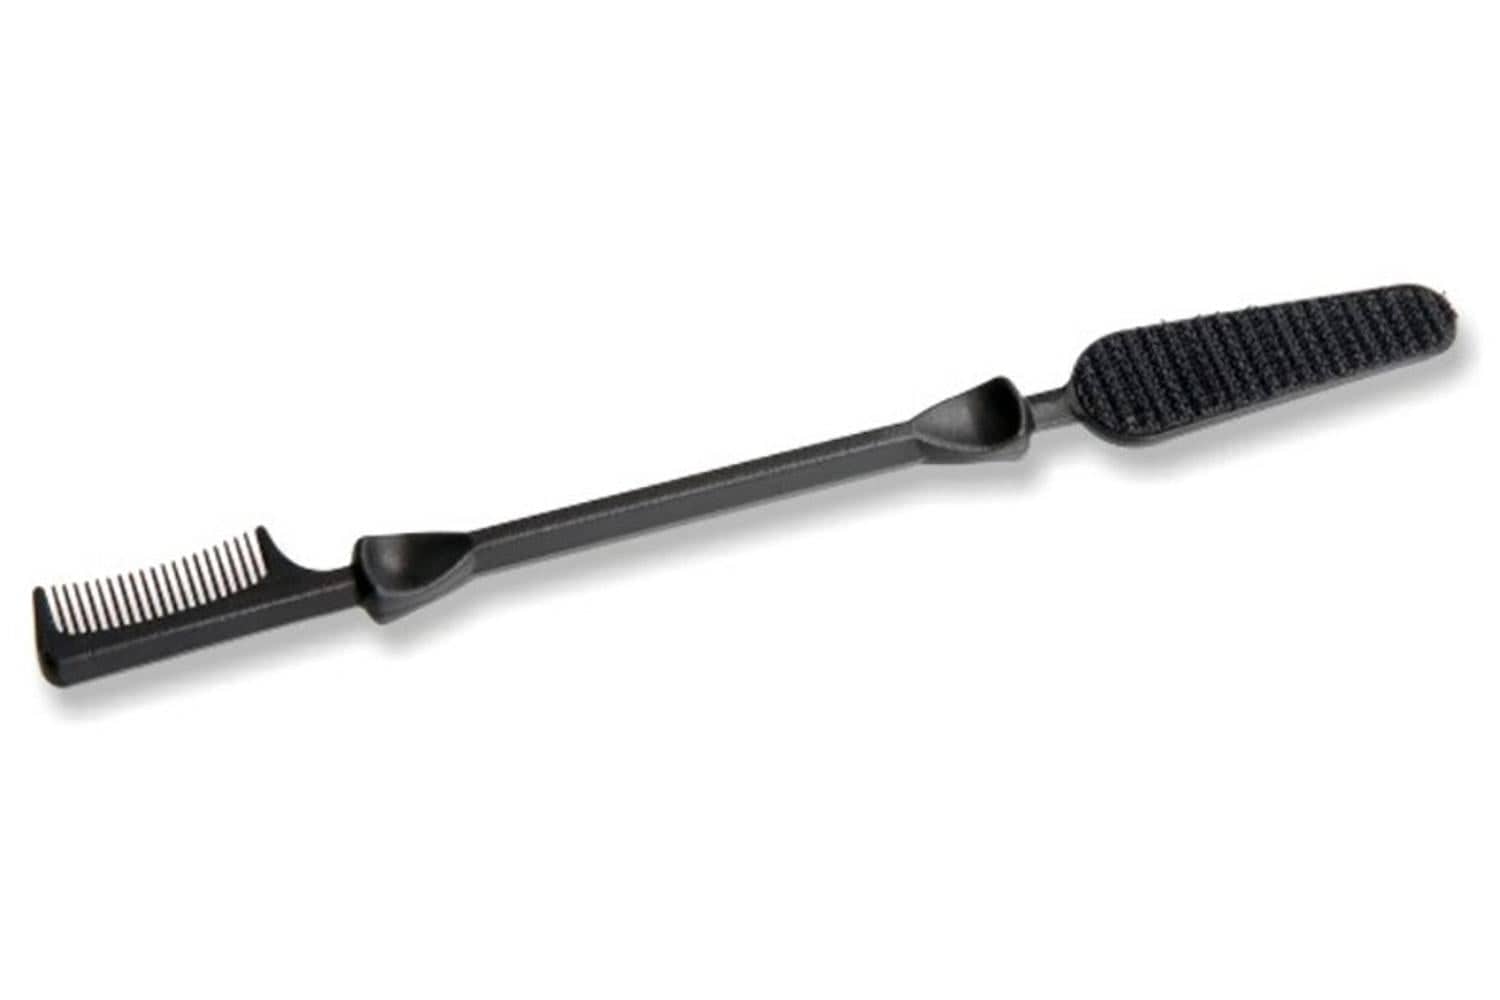
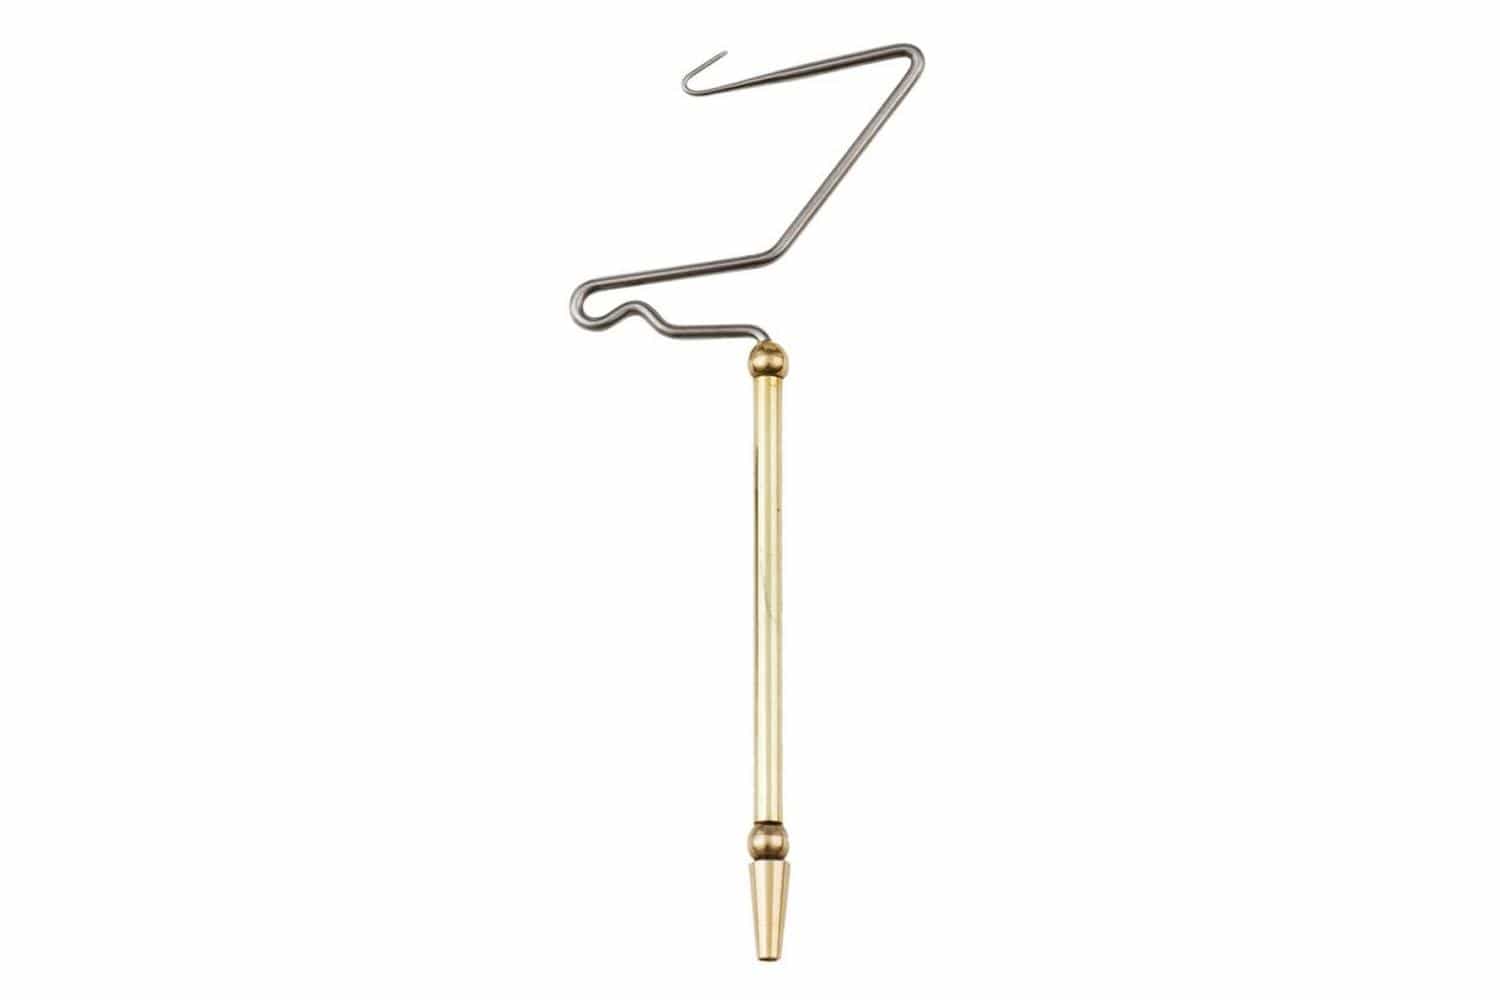
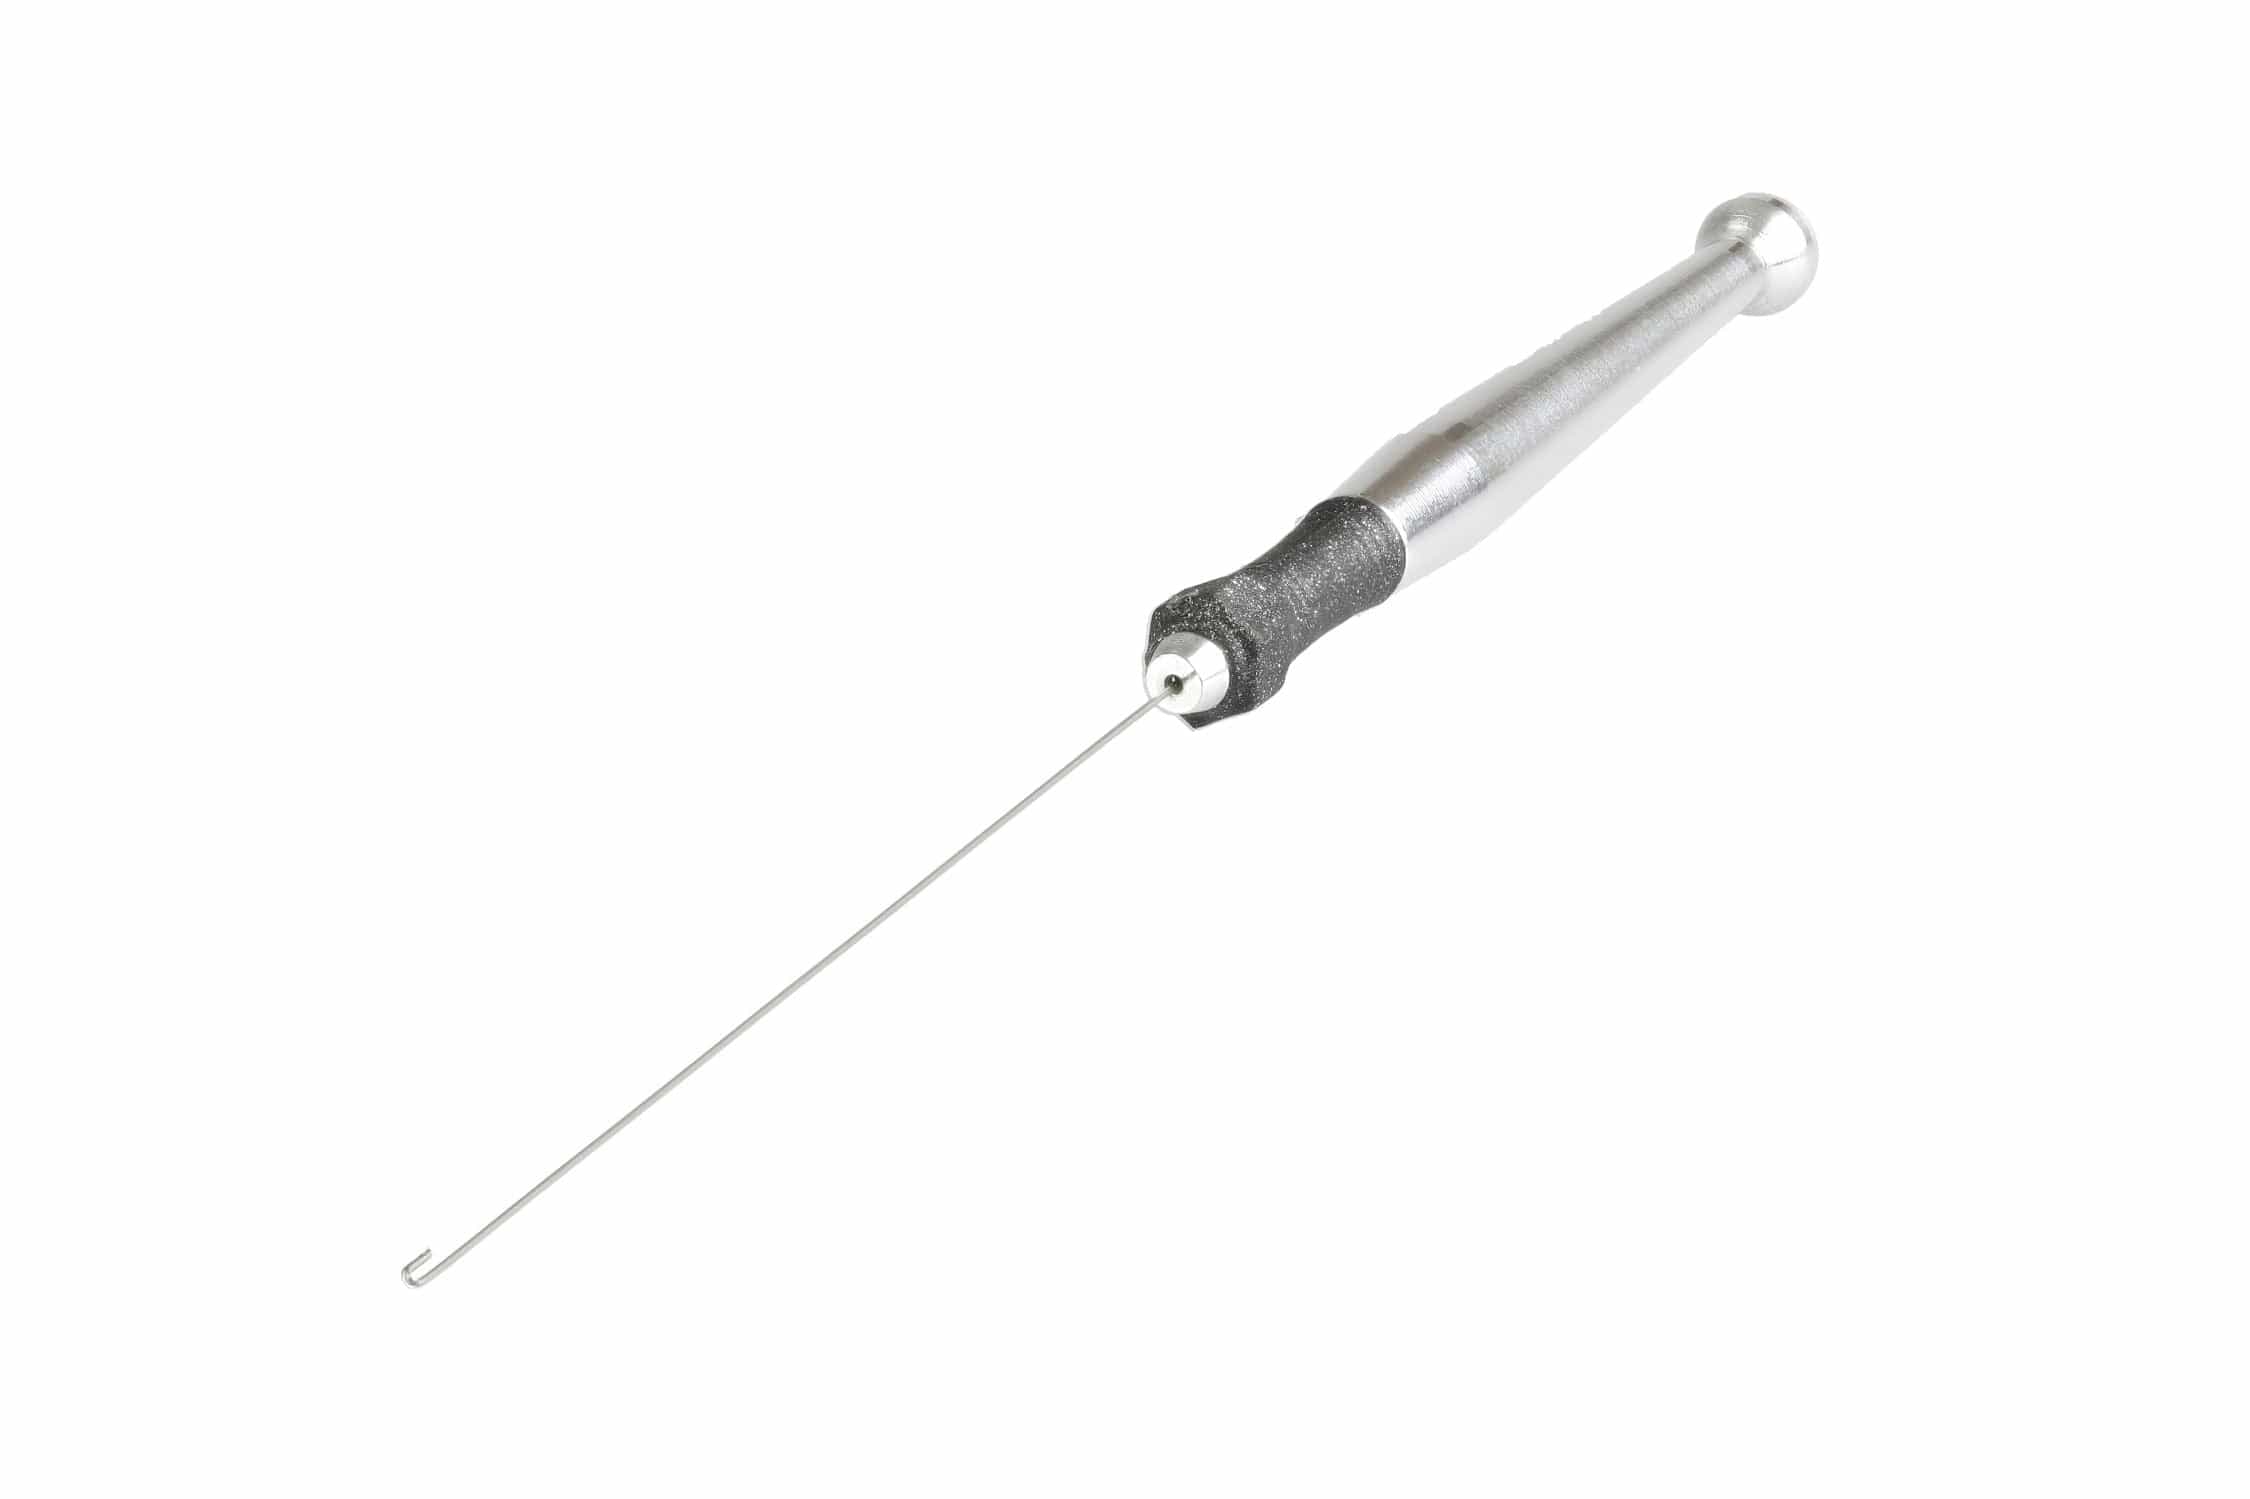
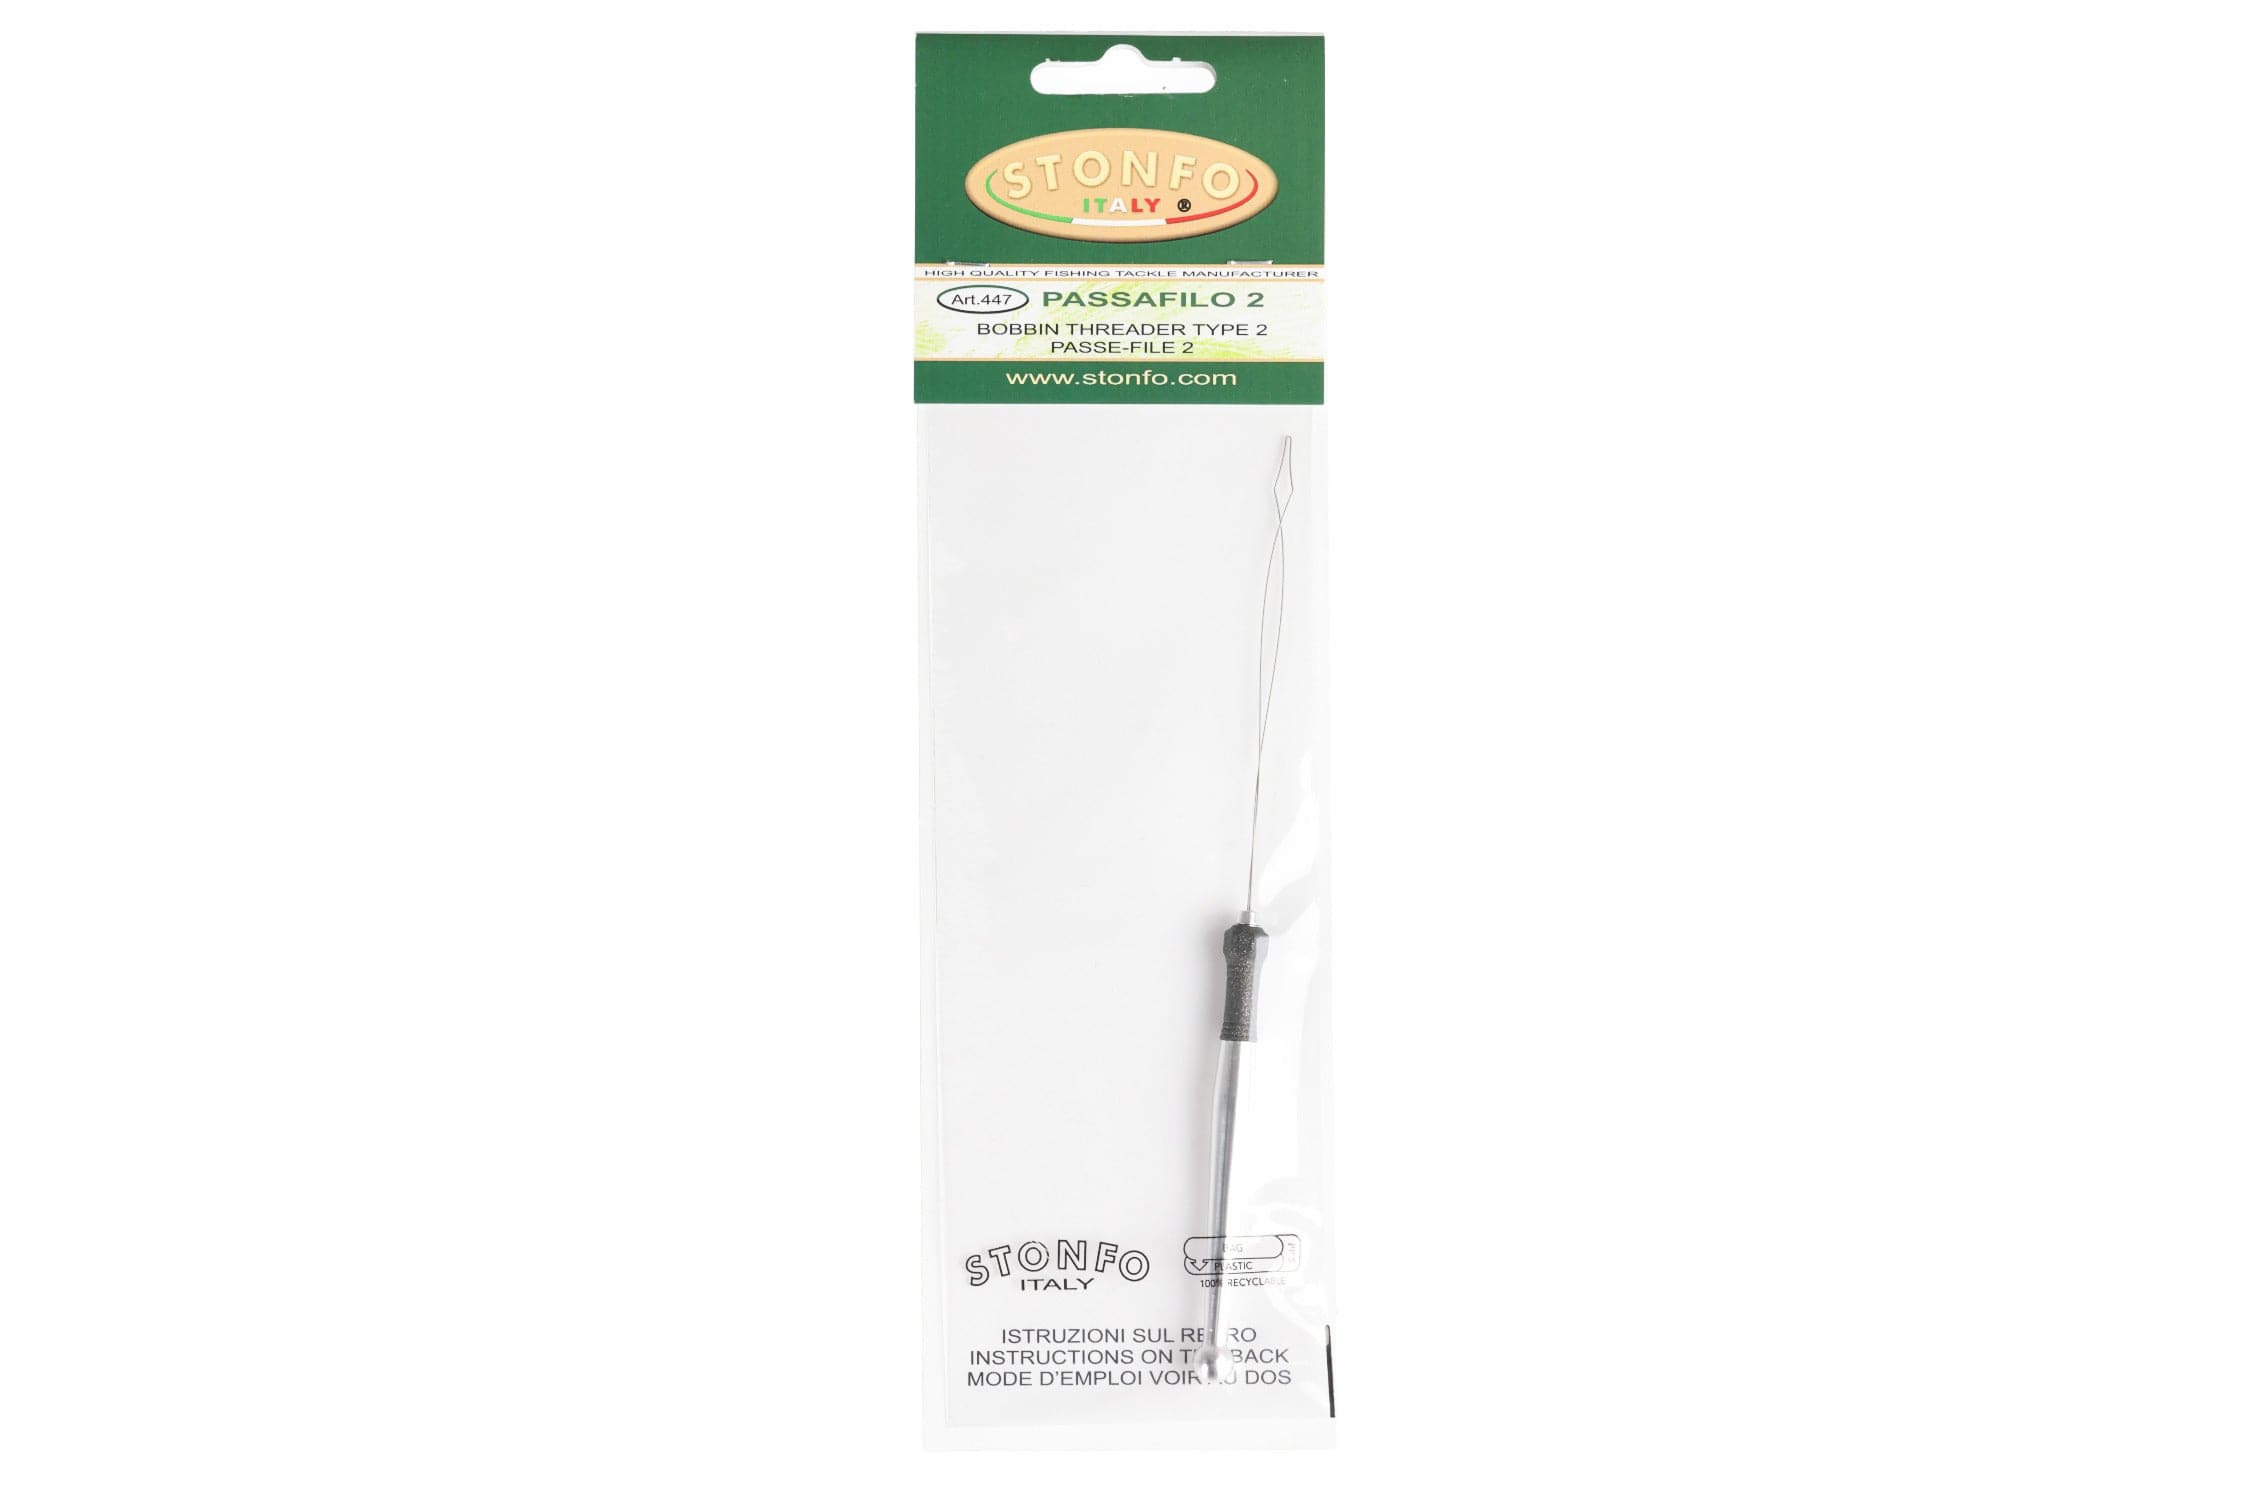
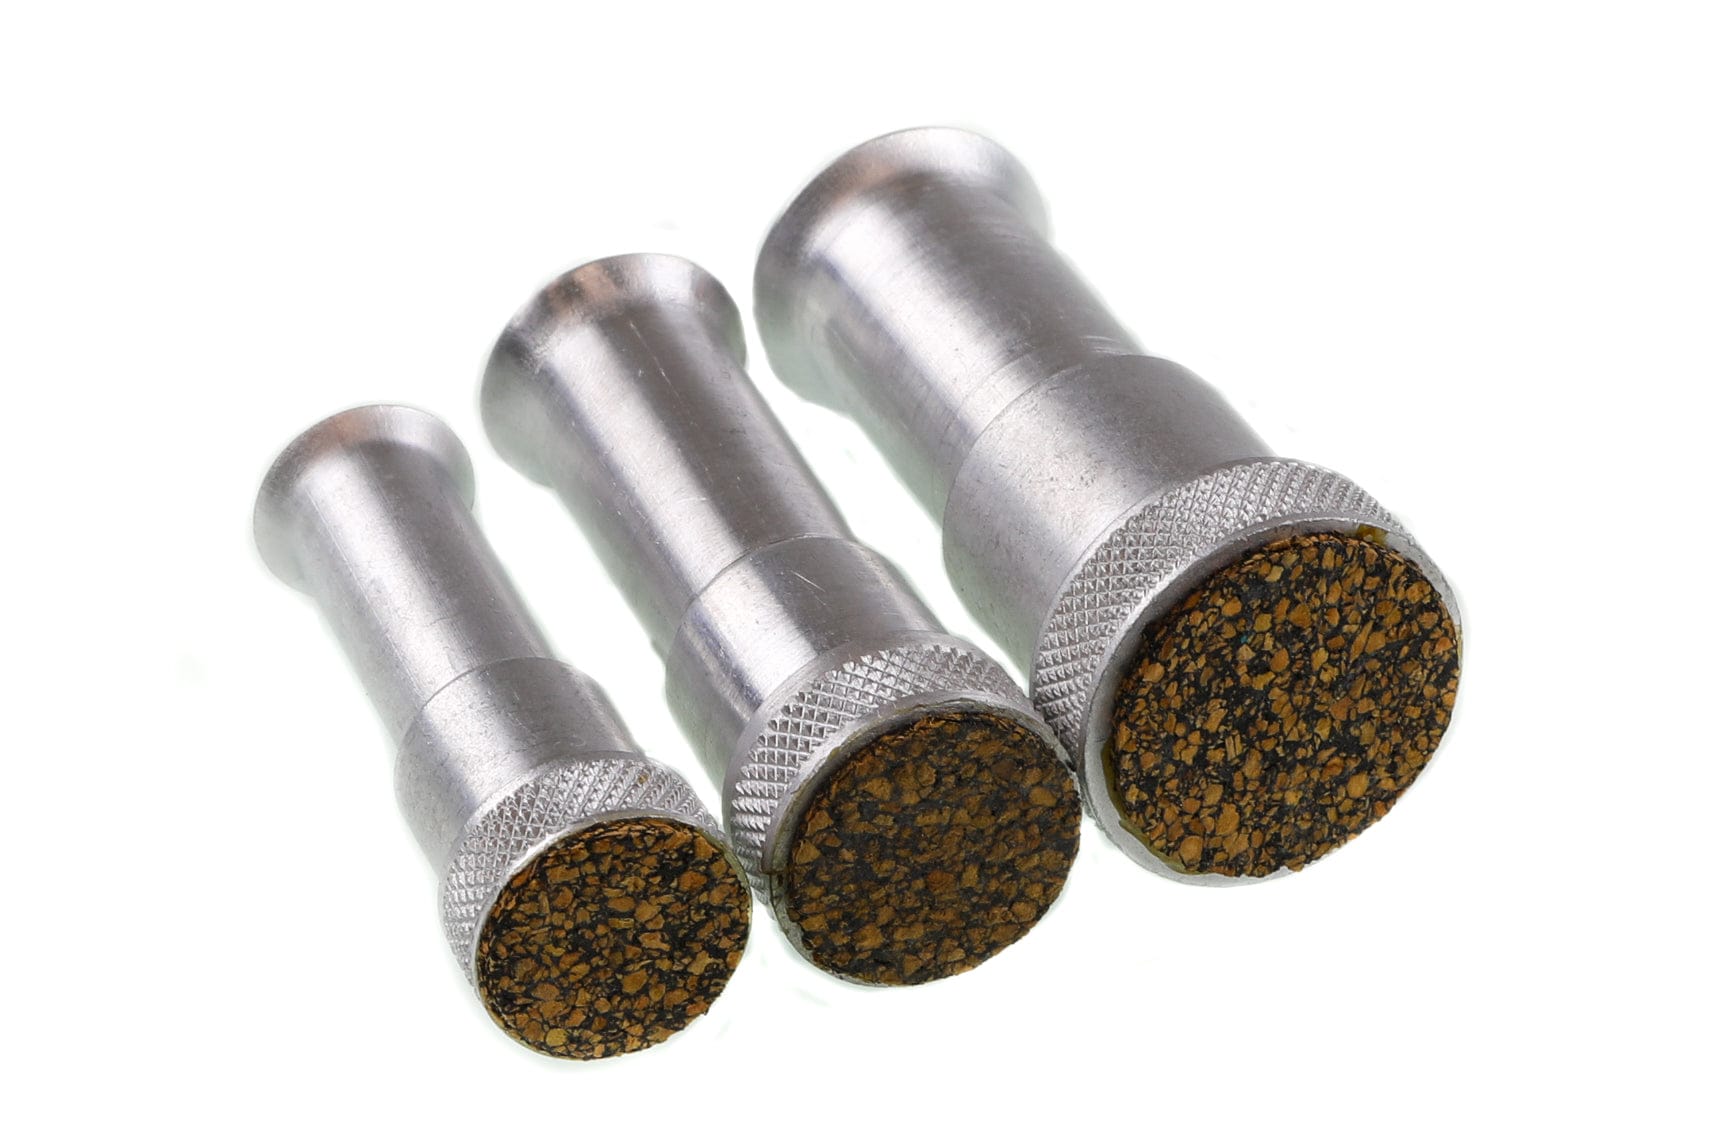
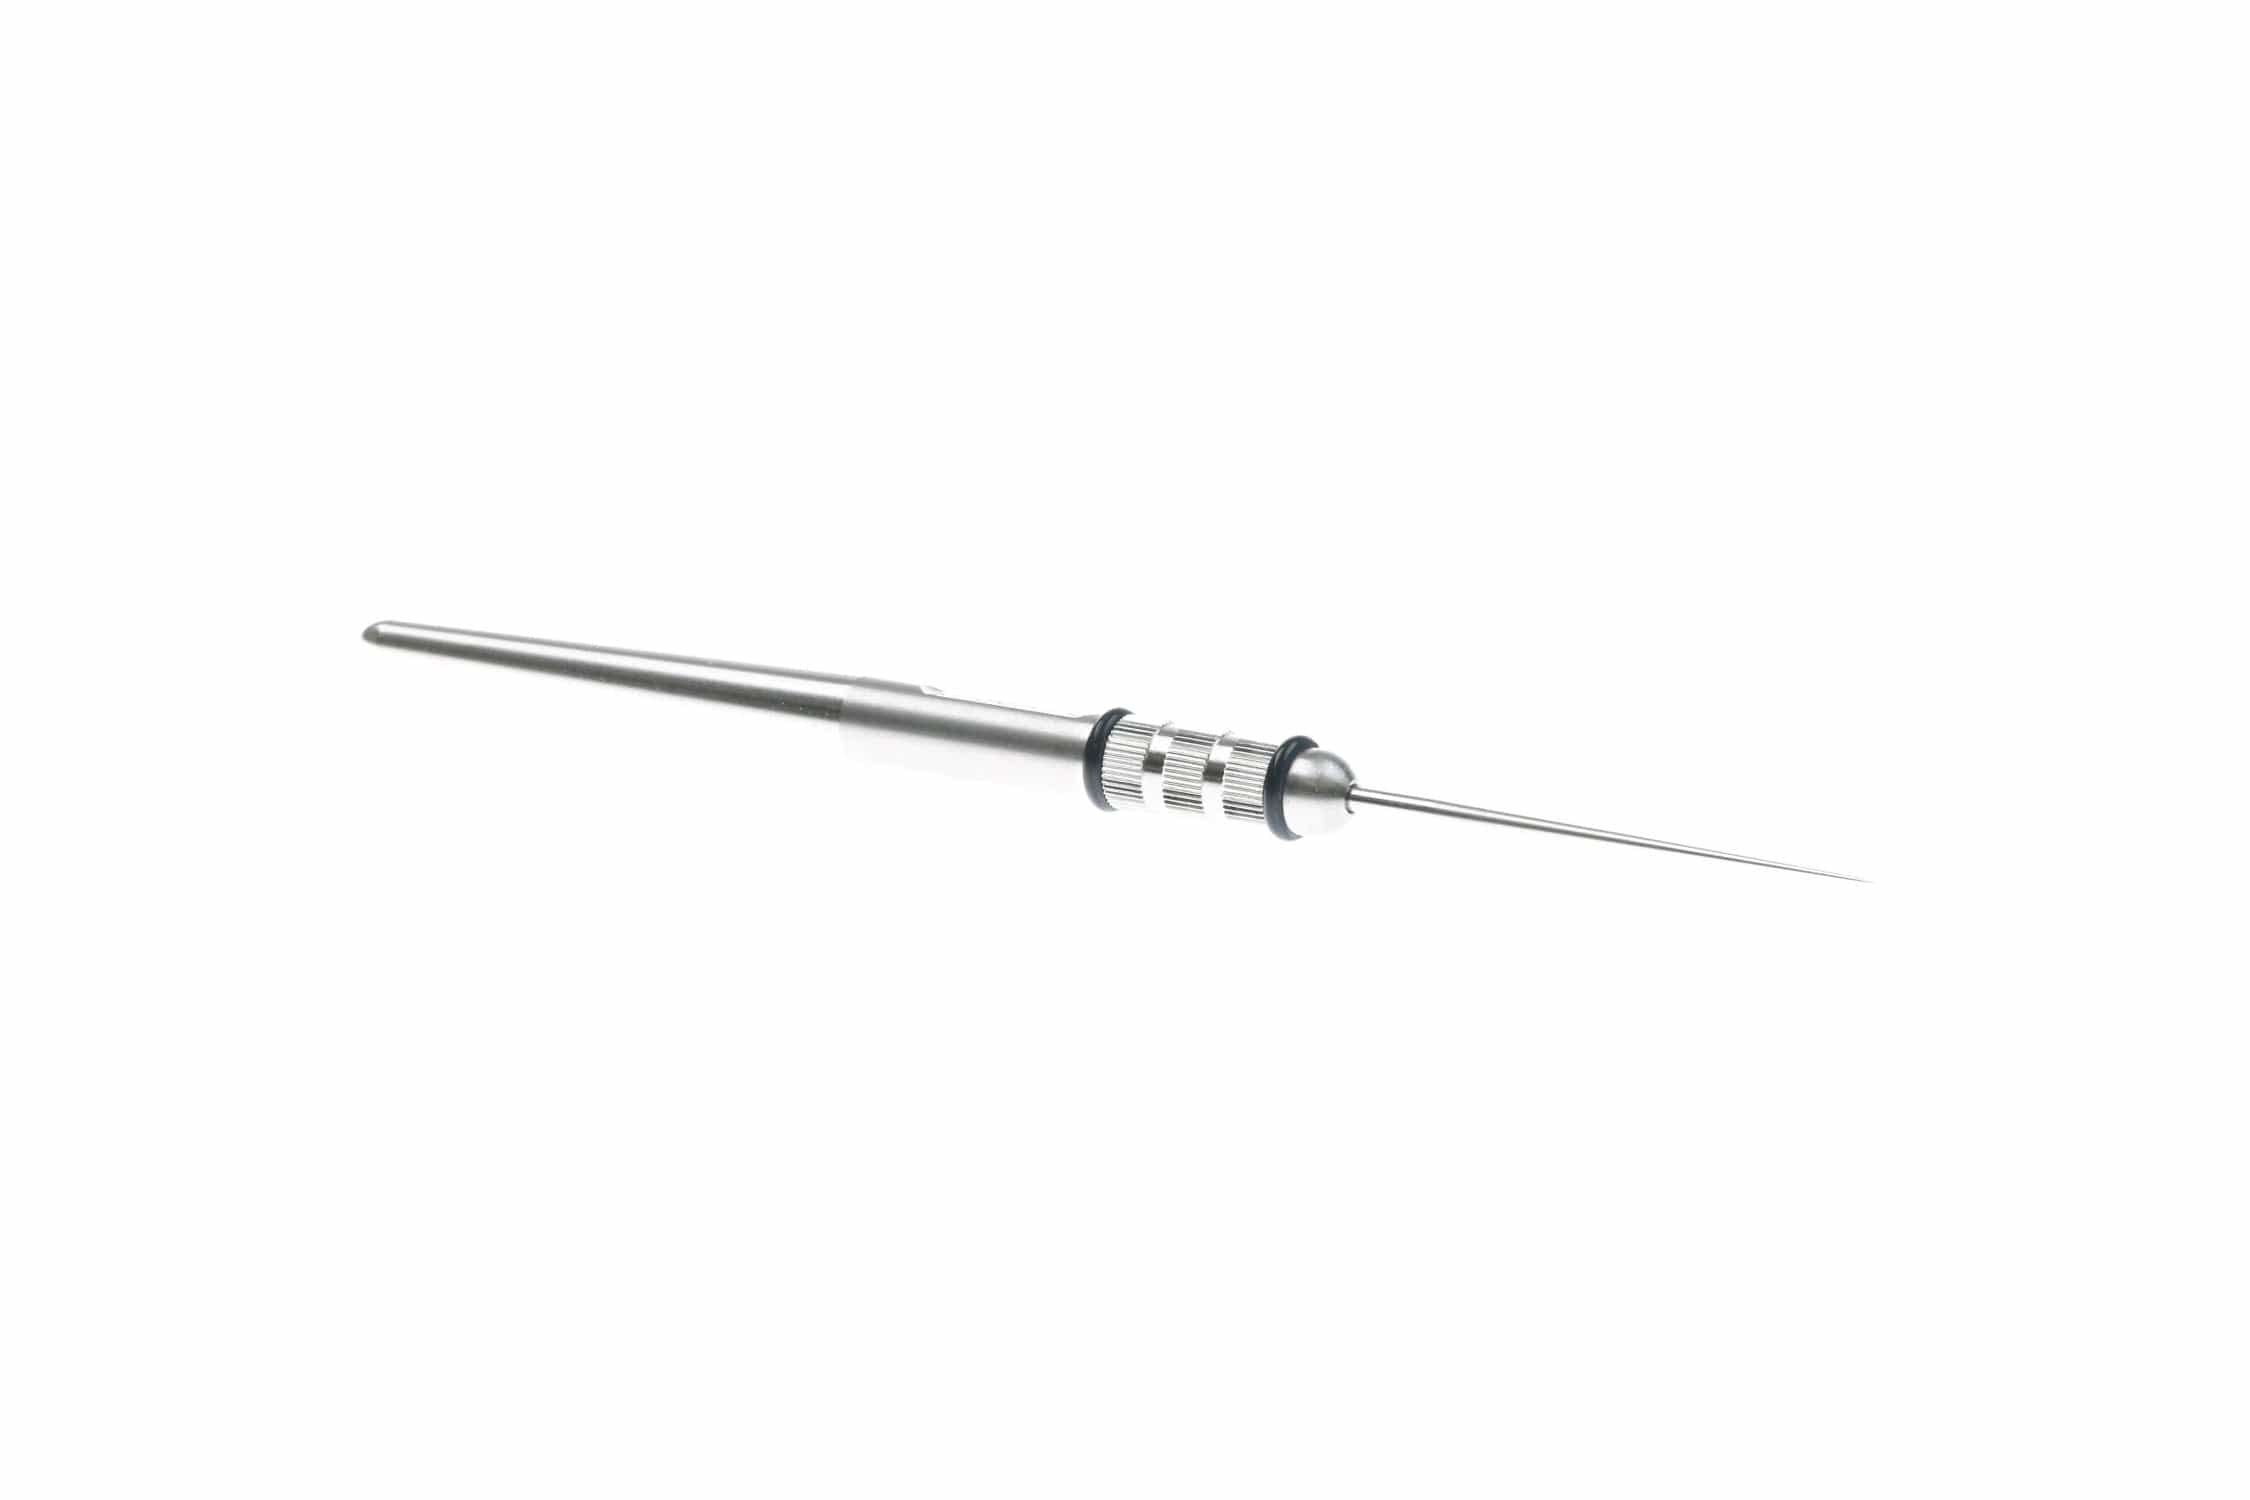
- Bodkin / needle: For applying cement, teasing dubbing, and cleaning hook eyes.
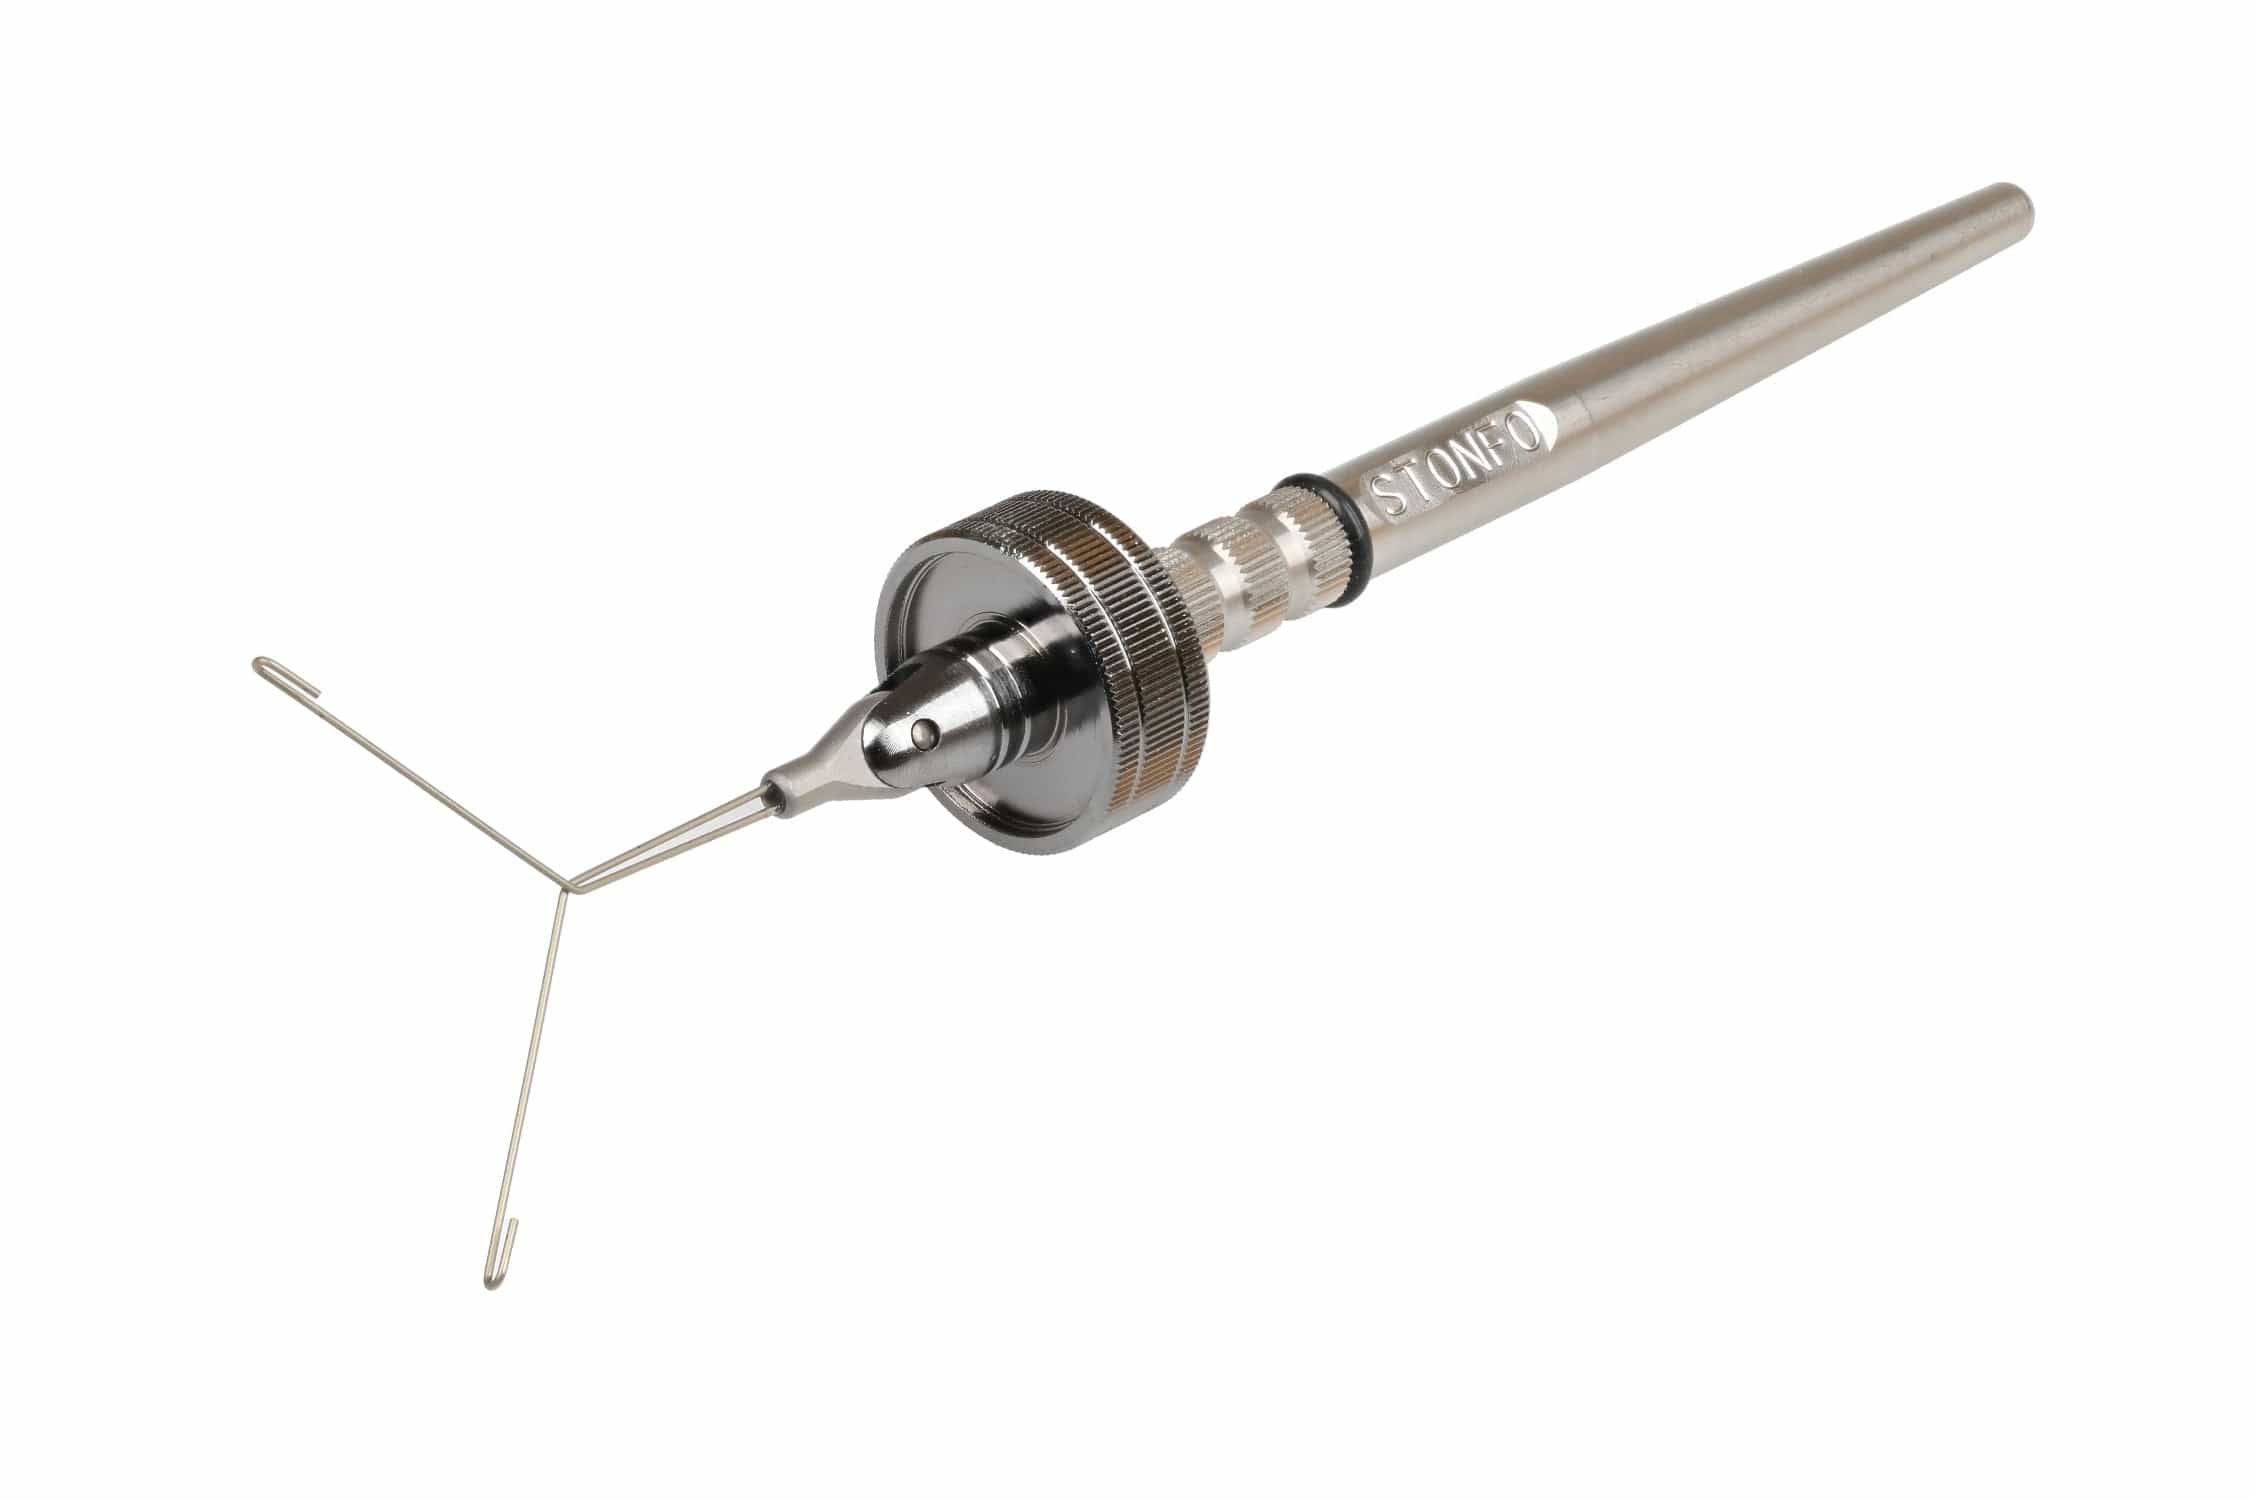
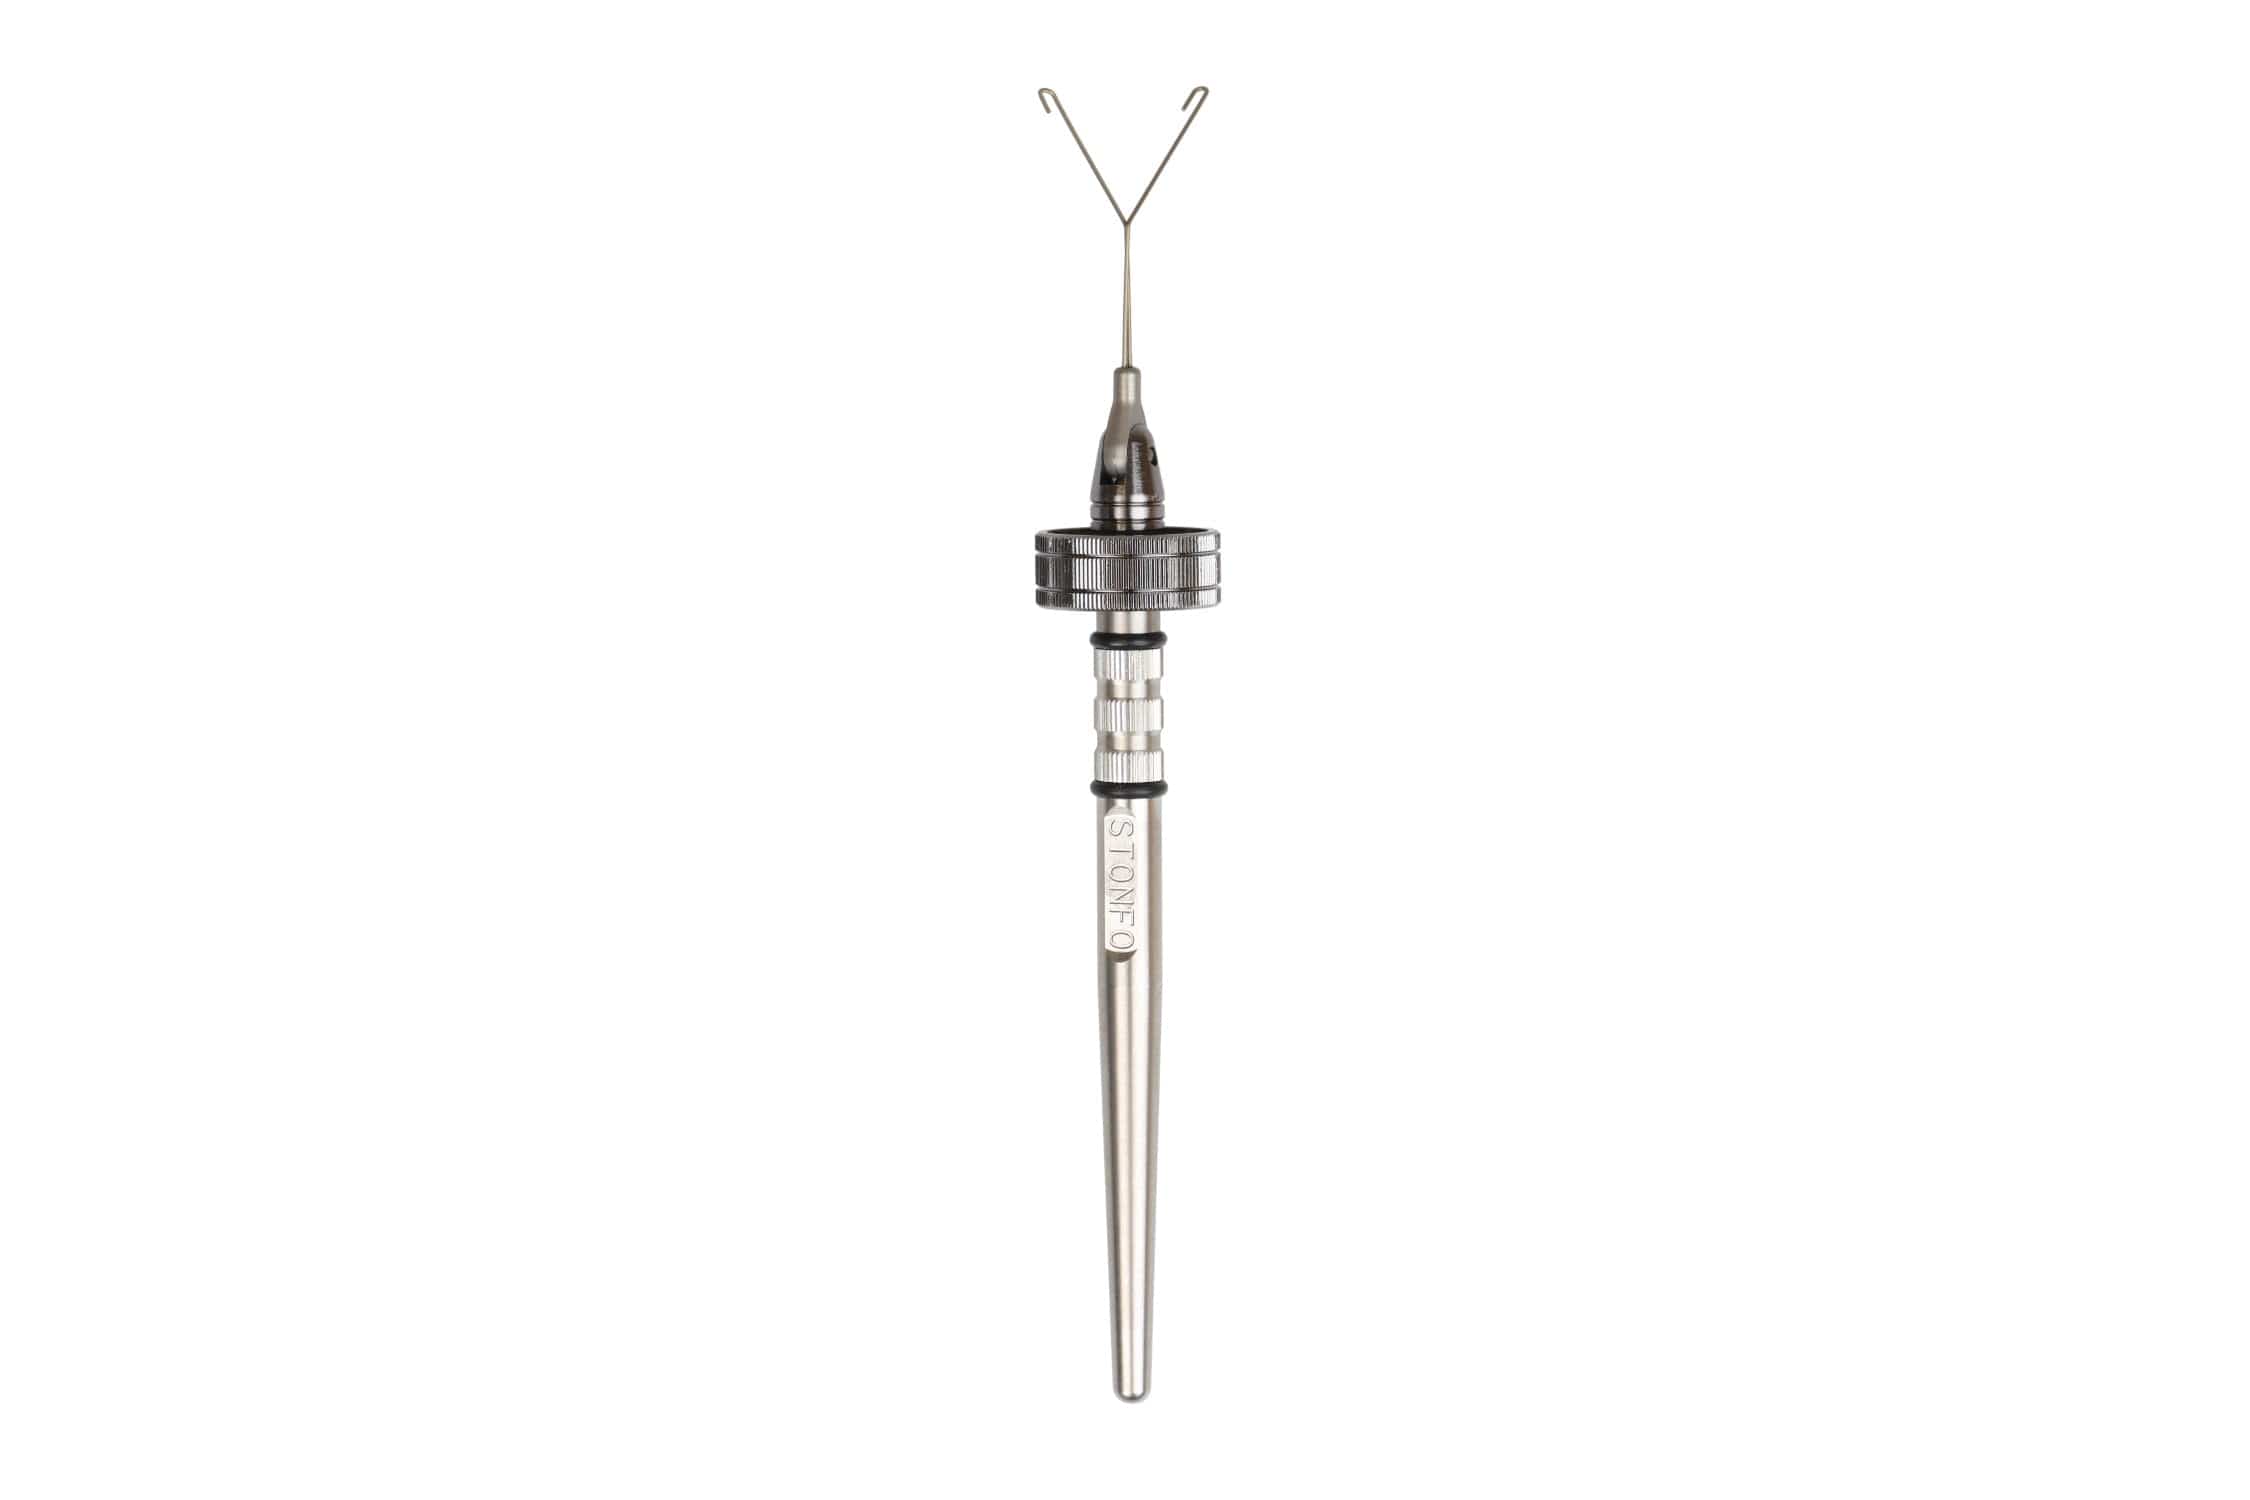
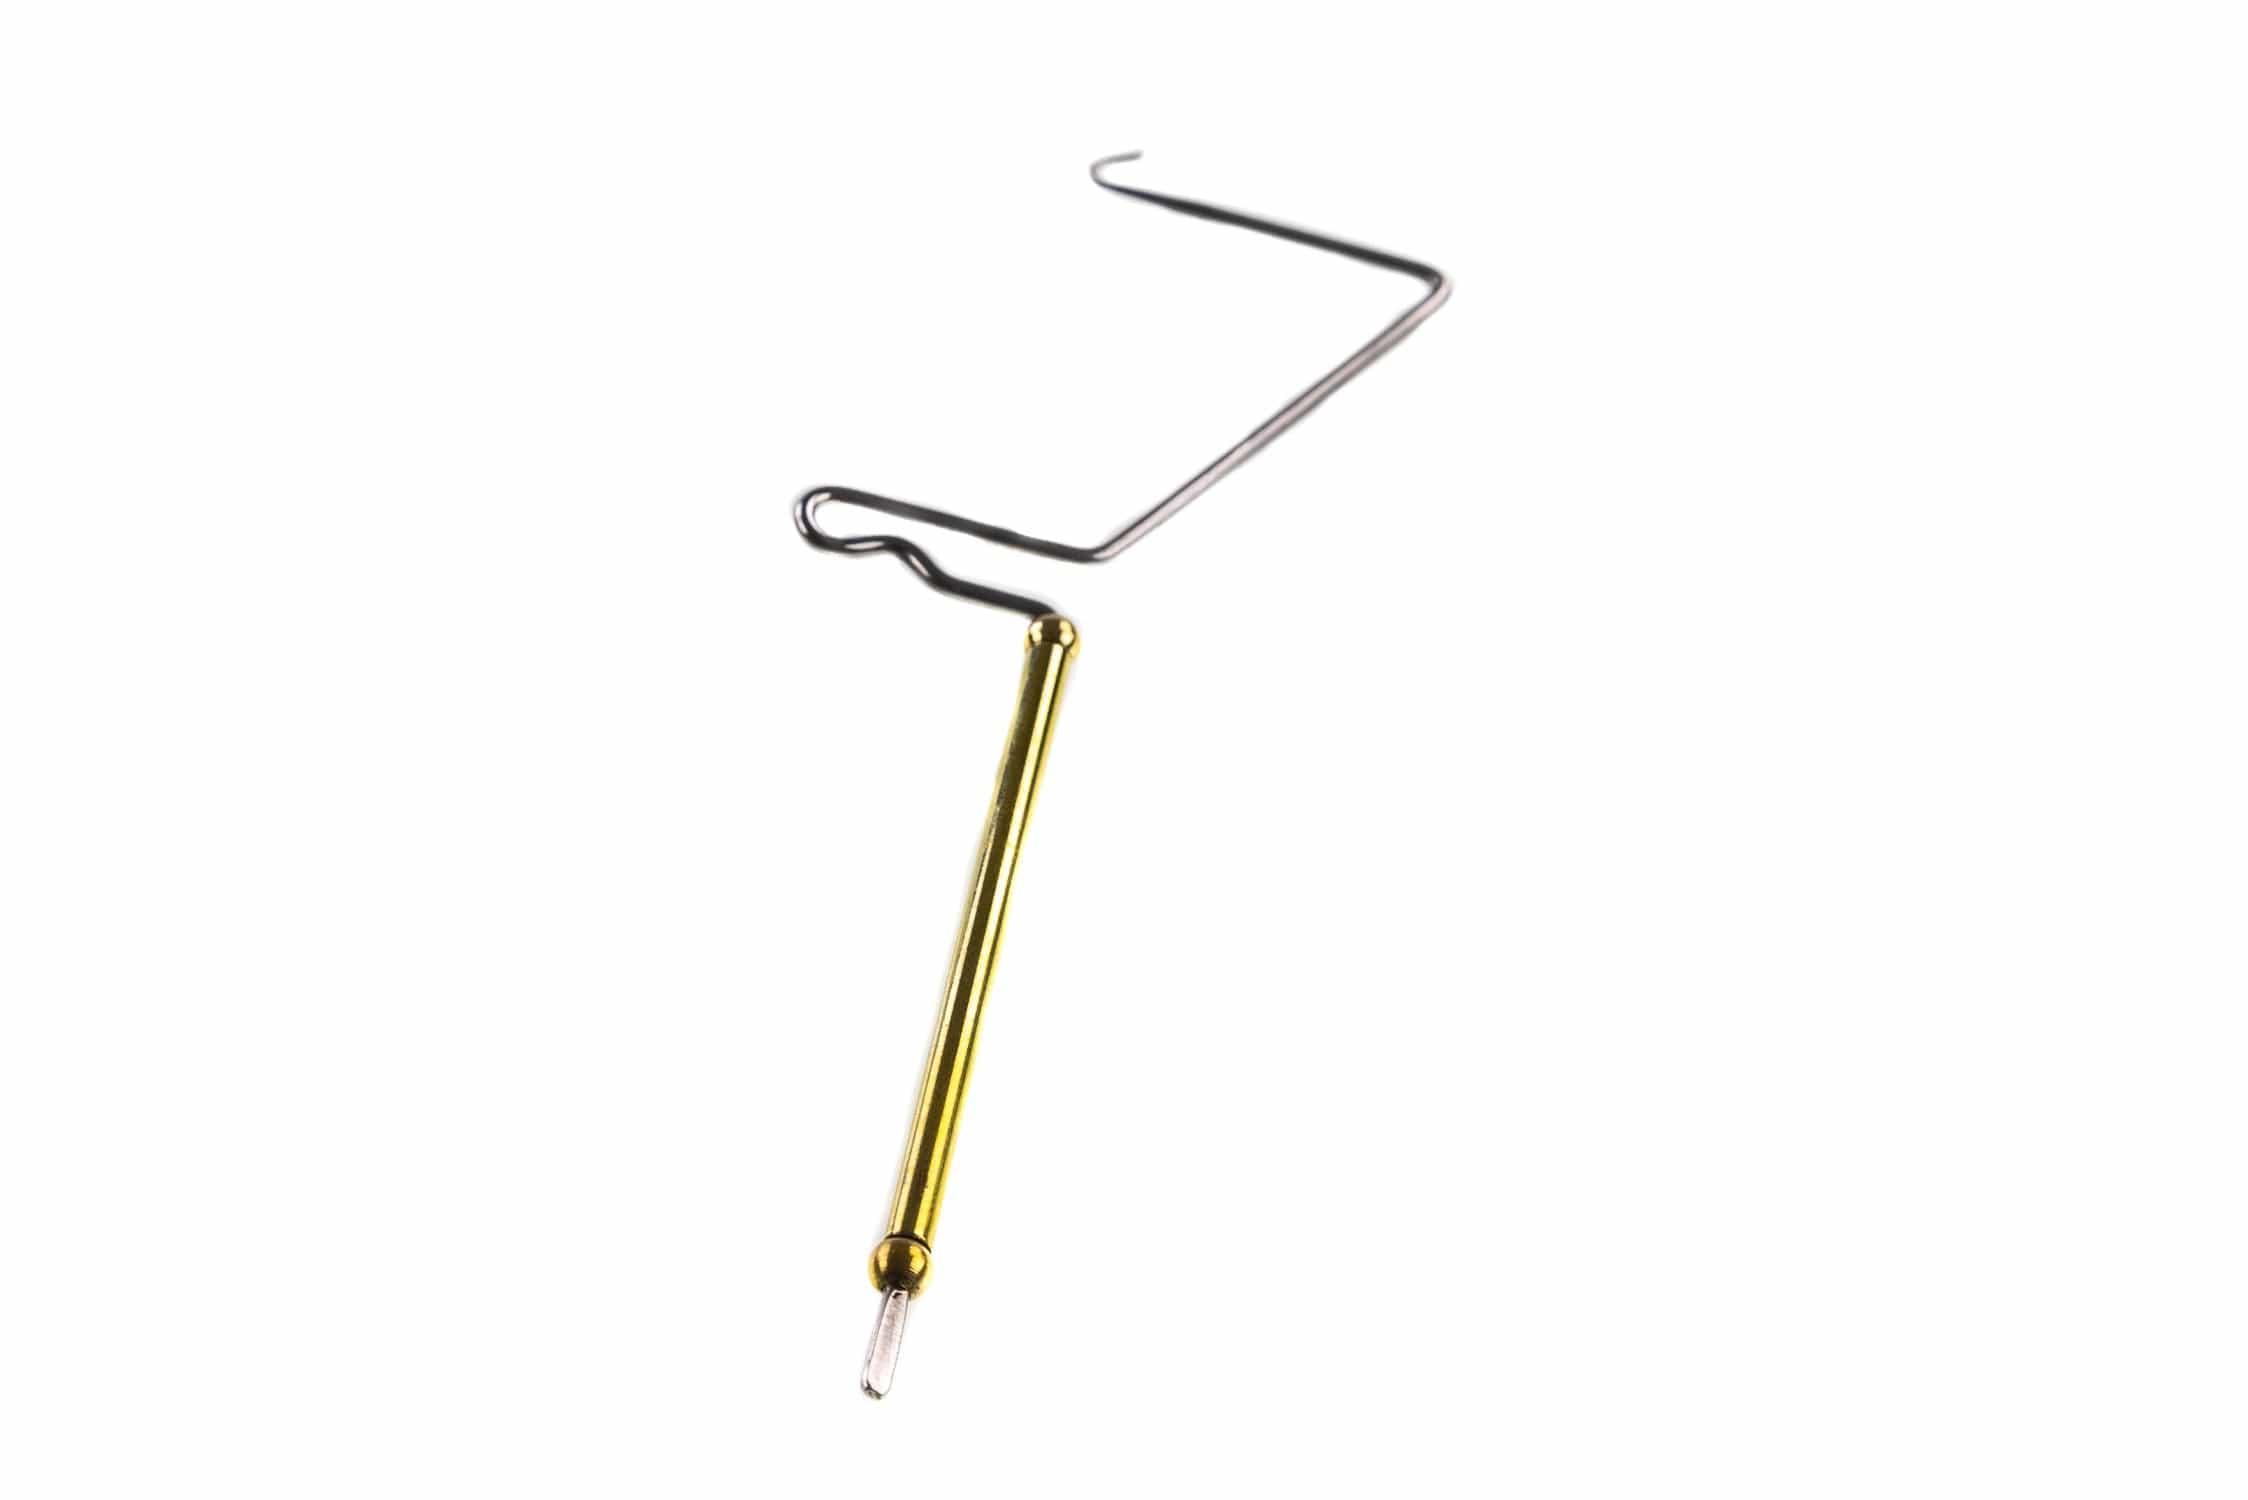
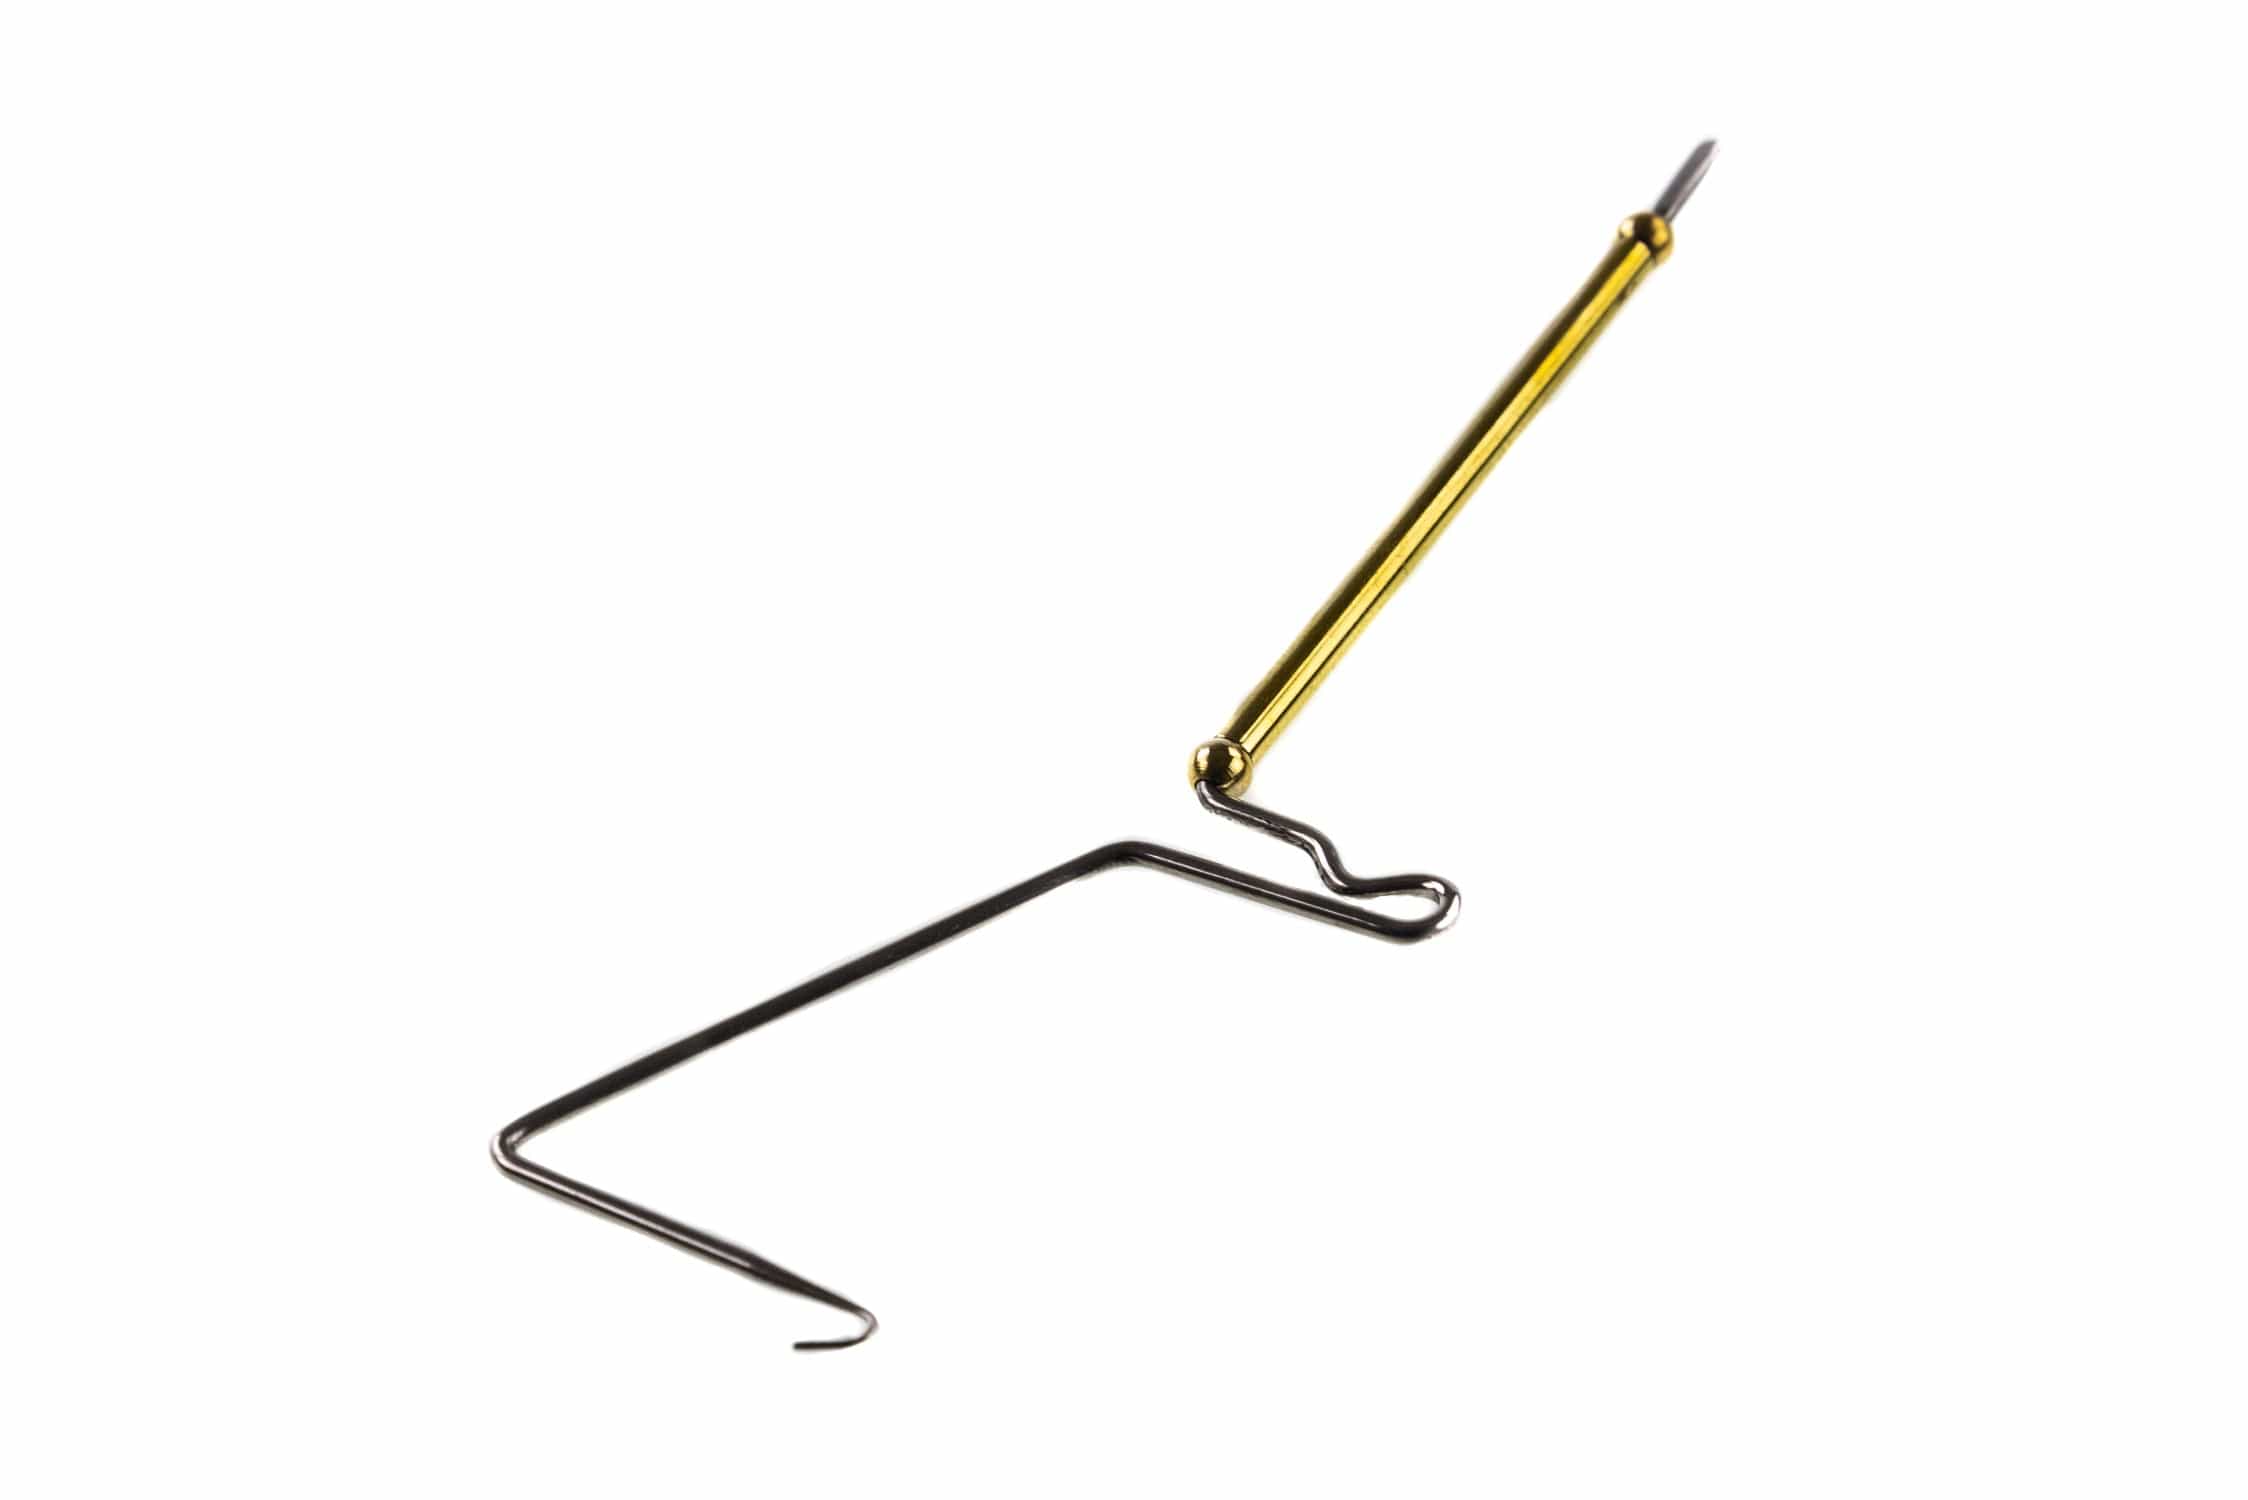
- Whip finisher: For fast, repeatable finishing knots that stay put.
Match tools to what you tie most
Action: Think about your “most-tied” flies first (midges, trout nymphs, big streamers, saltwater patterns), then buy tools that remove friction from that workflow.
- Small flies (18, 28): Look for fine tips, precise blades, and a bobbin that won’t fray thread.
- Streamers and predator flies: Prioritize strong cutting power, ergonomic grips, and tools that help manage bulky synthetics.
- Production tying: Comfort and speed features matter, consistent thread tension and good organization save real time.
Common mistakes to avoid
- Avoid if: You’re buying “every gadget” before learning the basics, start with core tools, then add specialty items as patterns demand.
- Avoid if: Your only scissors are heavy or dull, one clean, accurate scissor improves nearly every step.
- Action: If thread breaks or frays often, troubleshoot the bobbin first (tube quality, burrs, and tension) before blaming thread.
Materials & Durability
- Keep edges clean: Wipe scissor blades and bobbin tubes occasionally to remove wax, UV resin residue, and dubbing oils.
- Protect cutting tools: Don’t cut wire, lead, or heavy mono with your tying scissors, use a dedicated wire cutter/utility cutter instead.
- Prevent rust and gunk: Store tools dry, especially if you tie with head cements, super glue, or UV resins.
- Travel smart: Use a case or pouch so tips don’t get bent and scissors don’t get nicked.
Complete Your Setup
Related Gear
- Fly Tying Materials - Stock up on the hooks and materials your new tools are meant to manage.
- Fly Tying Hooks - The foundation of every pattern, from tiny dries to heavy streamers.
- Fly Tying Cements, Epoxies & Glues - Lock down thread wraps, reinforce heads, and build durable bodies.
- Fly Tying Kits - A fast way to get the right mix of tools and materials without piecing everything together.
Related Guides
- Fly Tying Essentials: The Basics for First-Time Tyers
- How To Tie the Ice Wing Caddis
- How To Tie A Steelhead Nymph
- How to Tie a Brassie Fly
- How To Tie The Slonskee Slayer
Tools FAQs
Q: What are these tools used for?
A: these tools help you control thread, position materials, and finish flies cleanly and consistently. The right tools make it easier to tie durable flies and repeat the same pattern accurately.
Q: What tools do I need to start?
A: Start with a bobbin, scissors, bodkin, whip finisher, and a vise. From there, add tools like hackle pliers or hair stackers based on the patterns you tie most.
Q: Should I buy one scissor or multiple scissors for fly tying?
A: Many tiers keep one “nice” scissor for thread and fine materials, plus a cheaper cutter for rough work. This protects your sharpest blades from wire, heavy mono, and wear.
Q: What should I look for in a fly tying bobbin?
A: Prioritize smooth thread feed and consistent tension so thread doesn’t fray or break unexpectedly. Comfort matters too if you tie for long sessions.
Q: Do I really need a whip finisher?
A: You can finish flies with half-hitches, but a whip finisher makes clean finishing knots faster and more repeatable. It’s especially helpful when you’re tying lots of flies or learning consistent finishing technique.
Q: How do I keep my fly tying tools from getting gummed up?
A: Keep UV resin and cements off moving parts, and wipe tools down after sessions. If you’re using adhesives often, dedicate a bodkin/needle for cement so your “clean” tools stay clean.
Q: Are specialty fly tying tools worth it?
A: Specialty tools can be very helpful when they solve a specific problem, like managing bulky synthetics or speeding up repeat steps. It’s usually best to add them after you’ve tied enough to know what slows you down.
Warranty & Brand Resources
Fly tying tools help you control thread, position materials, and finish flies cleanly— This collection includes multiple fly tying tool brands, and warranty coverage varies by manufacturer. If you have a warranty question, check the product listing details and keep your order information handy for the brand’s support team.