
Tips for tying a Copper John Nymph Fly Pattern including a materials list, instructional video, and much more. Improve your fly tying skills here.
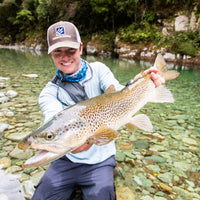
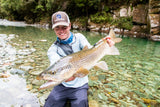
The Copper John is one of the most popular trout nymphs on the planet. Seriously. If you're looking for a heavy mayfly nymph, this is a go-to pattern for trout rivers across the US and internationally. The Copper John can be tied a few different ways and Jared shows us his version in this episode of the Tying Bench. If you have a vise and are an avid trout angler, this video and blog post is for you.
Trident Fly Fishing is a full-service fly shop. We spend a lot of time testing gear and writing reviews to give you all of the tools to make your next trip a success. We are not a blog or a review site. 100% of our funding comes from your gear purchases, so if this blog post helps you on your next fly fishing adventure, please support us by buying your gear from us.
Materials:
We've put together a kit that contains all the materials you need to tie this exact fly pattern.
Click the button below to shop the selection.
Hook: Gamakatsu S10, Size: 12
Thread: Uni-Thread 6/0, Color: BlackWing: Thin Skin, Pearl Flashabou
Wire: UTC Ultra Wire, Color: Copper
Thorax: Peacock Herl
Legs: Partridge Feather, Color: Dark
Tail: Goose Biots, Color: Brown
Head: Gold Tungsten Bead
Step One:
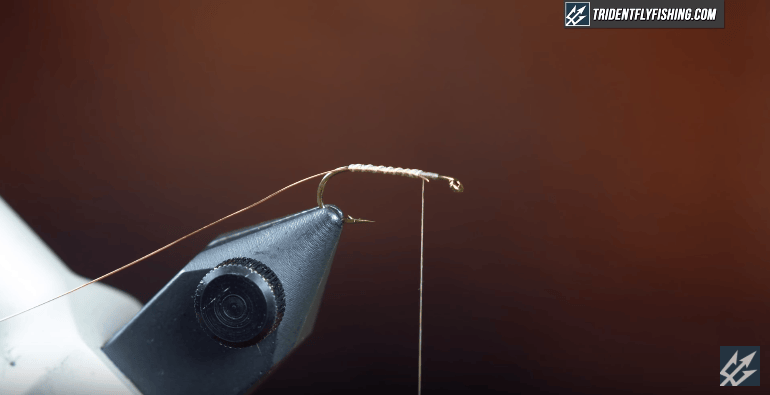
Start by placing the Gold Bead on the hook. Then, add the lead as an underbody. Wrap the lead about 1/2 way back on the hook shank and seat it right behind the bead.
Step Two:
Wind the thread behind the lead underbody and tie in the Goose Biots as a tail. The tail should be about half the length of the hook shank. After tying in the tail, bring the thread up to just behind the bead to continue the smooth underbody taper. Trim out the excess Goose Biots.

Step Three:
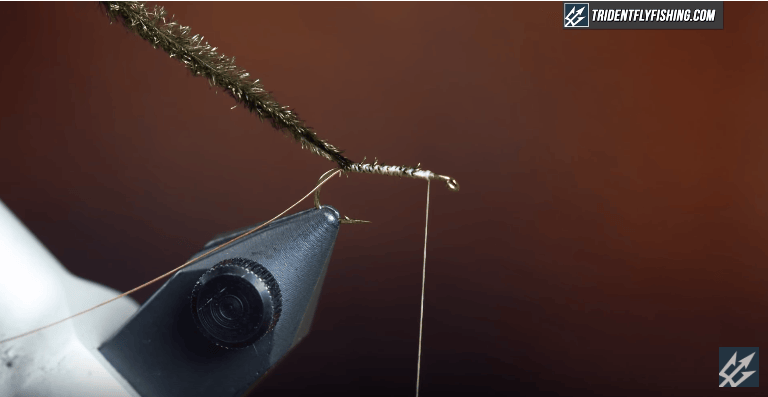
Tie in the Copper Wire just behind the lead wraps. After tying in the wire, wrap the thread back to the tails to secure the Copper Wire then wrap your thread back up behind the gold bead. After tying in the Copper Wire, wrap the wire tightly to create the body of the fly. Tie off the Copper Wire just past the hook point and helicopter the wire to break it off.

Step Four:
Tie in the Flash for the wingcase just behind the bead right on top of the hook shank. Bring your thread back to the Copper Wire. Then tie in the Thin Skin right in front of the Copper Wire, again on top of the hook shank.

Step Five:
Choose two strands of Peacock herl and tie in the herl for the thorax of the fly. After tying in the Peacock Herl, wrap the two herls up to just behind the bead and tie them off. After tying off the Peacock Herls, break them off.

Step Six:
Tie in the Partridge Feather for the legs. Choose a dark Partridge Feather and strip the butts off of the feather. Pull the feather back to create a V shape and tie the legs in right on top of the hook shank with the point of the V facing the eye of the hook. Throw a loose wrap to catch the feathers, adjust them so they're equal on both sides, then tie them in. Cut off the excess feather.

Step Seven:
Pull over your Thin Skin and Flashabou to create the wing case. Tie both the Thin Skin and Flashabou down right behind the bead. Trim the remaining Thin Skin and Flashabou.

Step Eight:
Throw a whip finish and add some head cement to increase the durability of the fly.

And that's the Copper John, a great searching pattern and a great pattern for trout feeding on Mayfly Nymphs. You can find all the materials at tridentflyfishing.com.
Questions?
Give us a call here at the shop at (888) 413-5211 or email us anytime at [email protected].
Comments
(0)No comments yet. Be the first!